Thanks for the comments

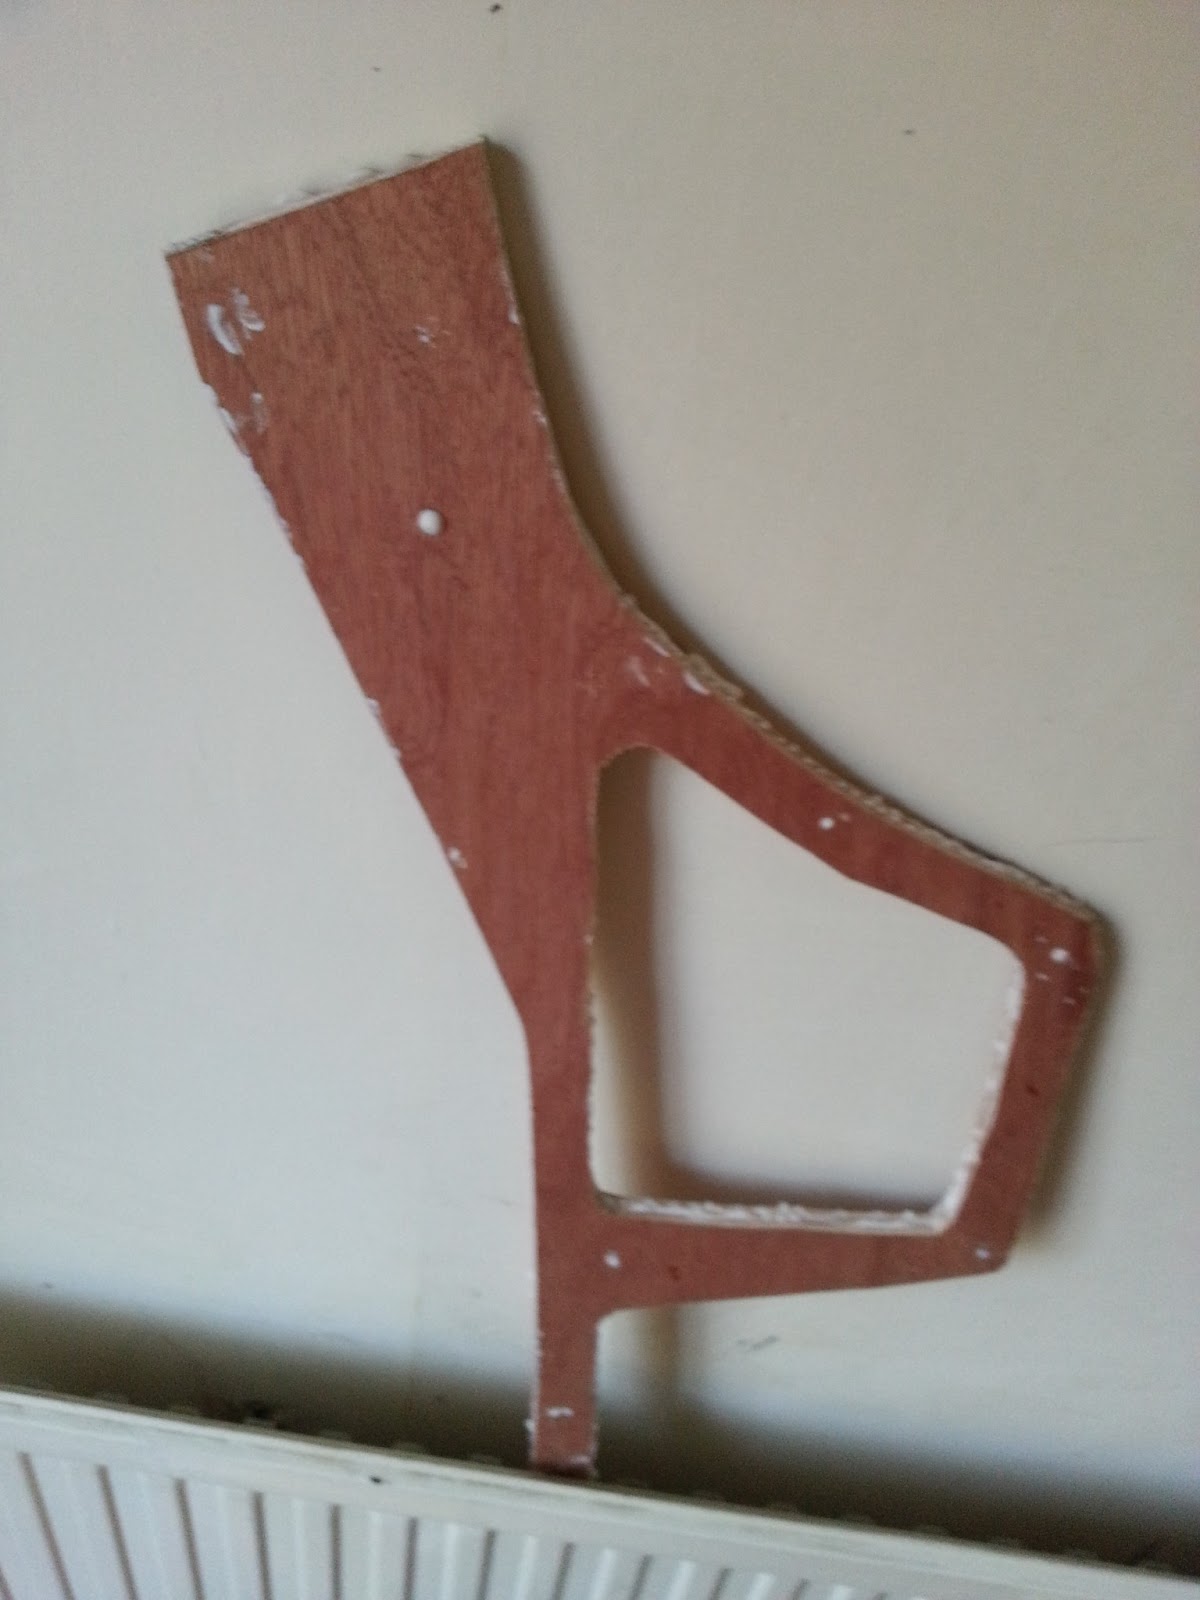
Obviously this is a replica of the Kenny Roberts flat tracker rather than the road racer.
Here are a few more pics of the "build"
I bought an 8x4 foot sheet of 4mm ply from the local timber merchant. This was to be the main stock for the bike and I would laminate it to the desired thickness for the parts I needed. I could have bought some 16 or 20mm ply but I wanted to form some curved pieces for the swingarm otherwise if I used straight pieces it would have jutted out too much and look a bit rough.
Here is the main frame core, I cut the rough shape 5 times to get the thickness I wanted, glued them all together and clamped it.

This is the "core" in its final drying phase on the custom drying kiln - these are extremely expensive due to being such a specialist piece of kit. This will be drilled out to in places to reduce weight as I will put a final skin on each side.
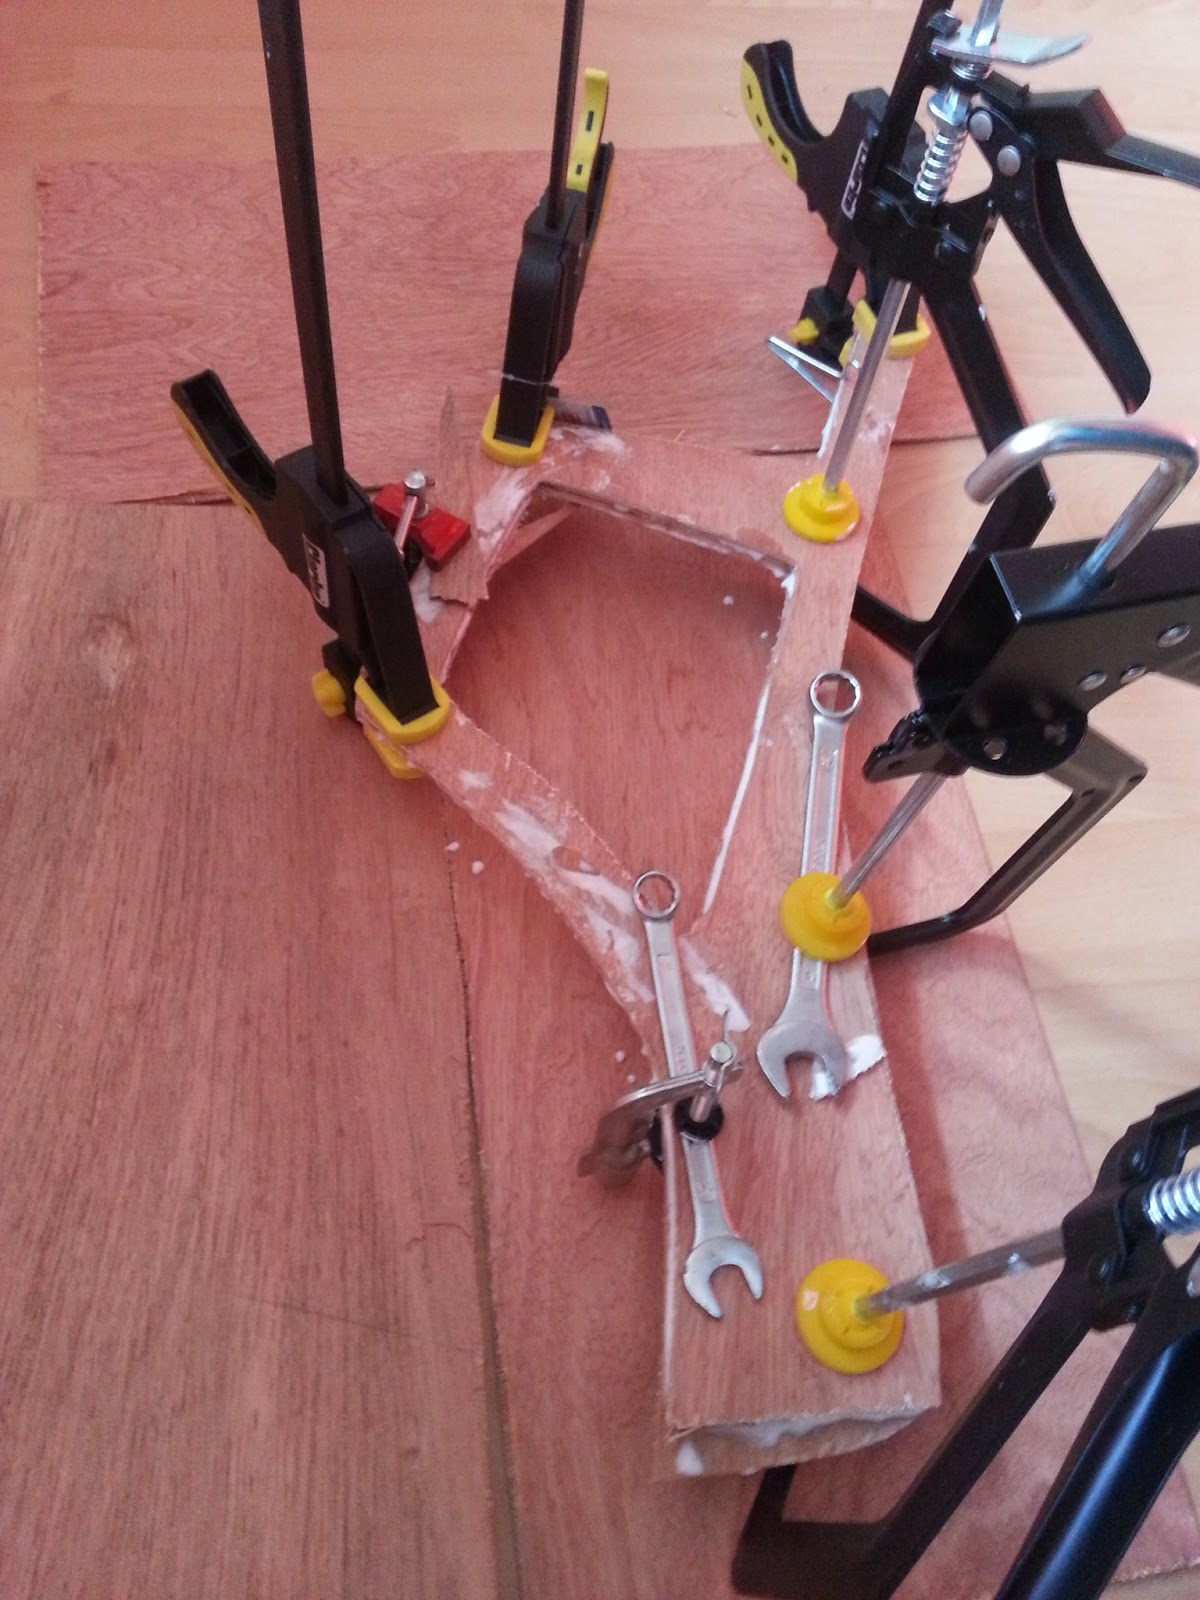
Once this was dry I drilled holes in it and cut channels etc to lighten it then put the outer skins on.
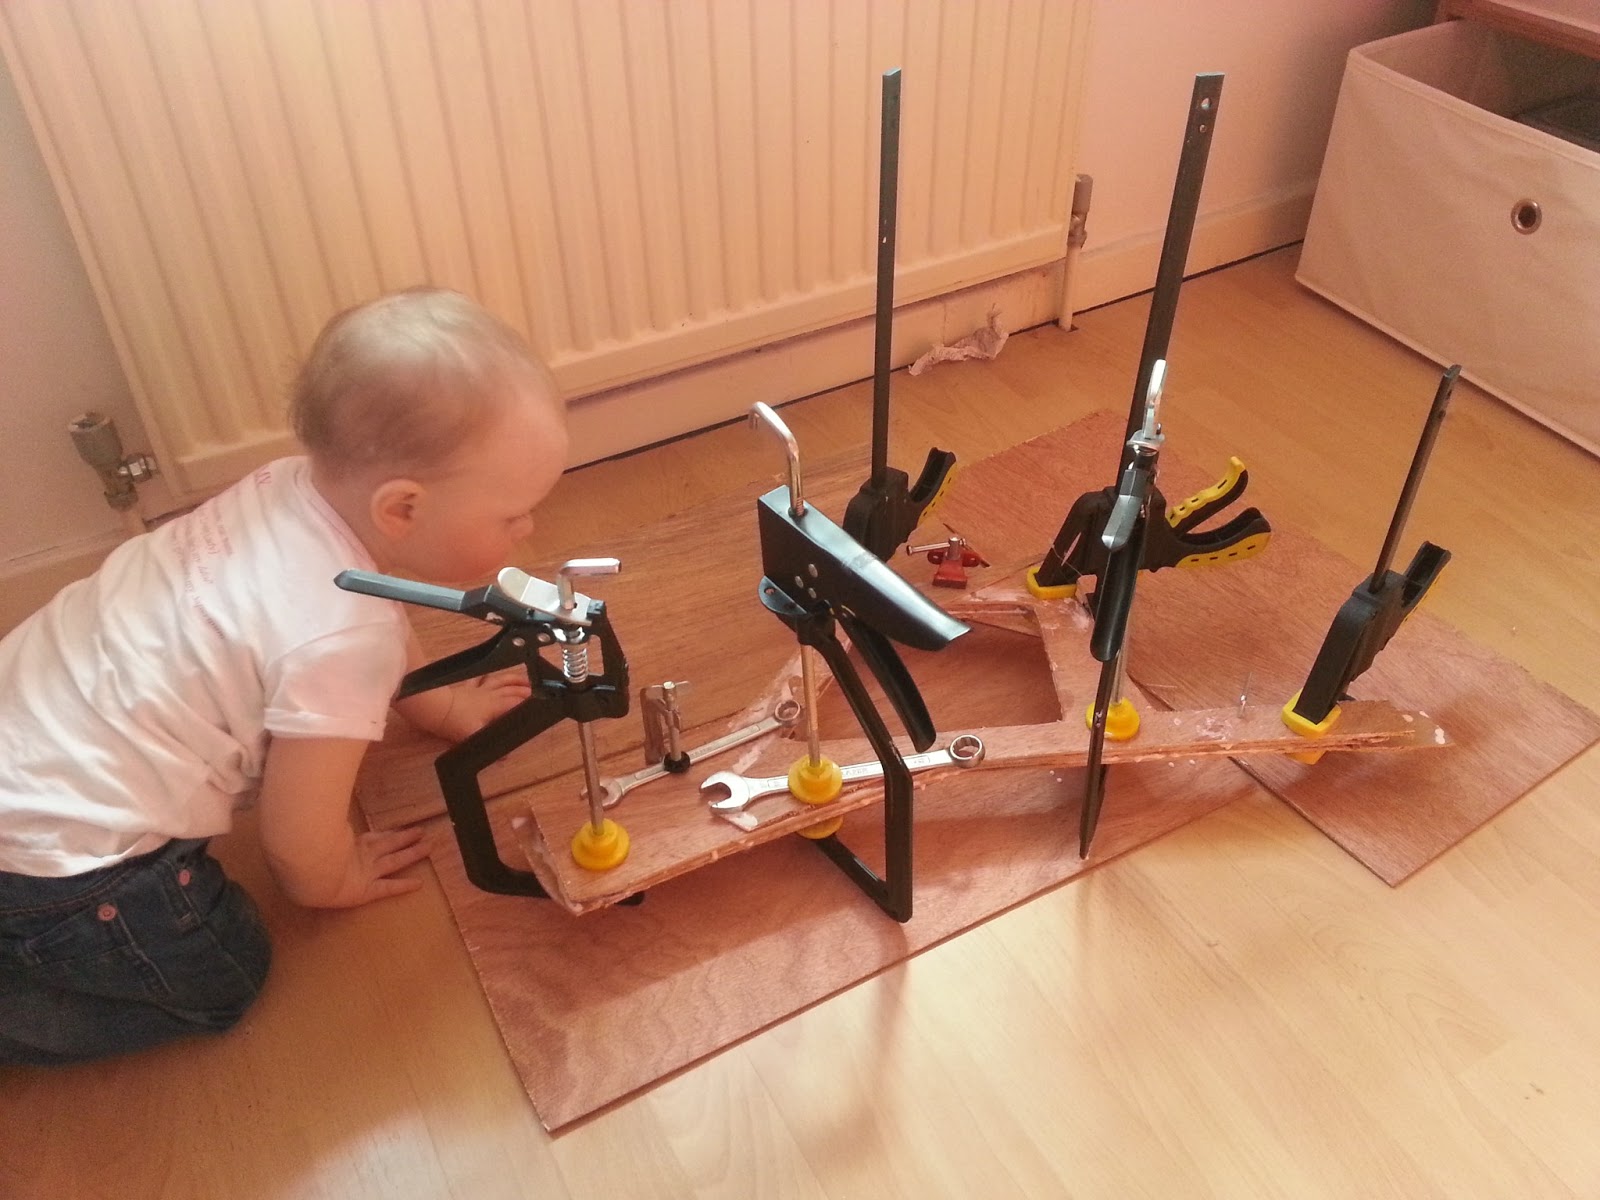
Here it is moved in to the larger drying bay. Clamps were thin on the ground so I had to improvise slightly...
Customer inspections are always pretty tense, you never know if they will change their minds or simply go off the whole idea. Thankfully it went well and after a heated argument over colours we were all back on the same page. (NOTE: Plywood offcuts that this is resting on catches glue drips and helps to keep 'er-indoors happy)
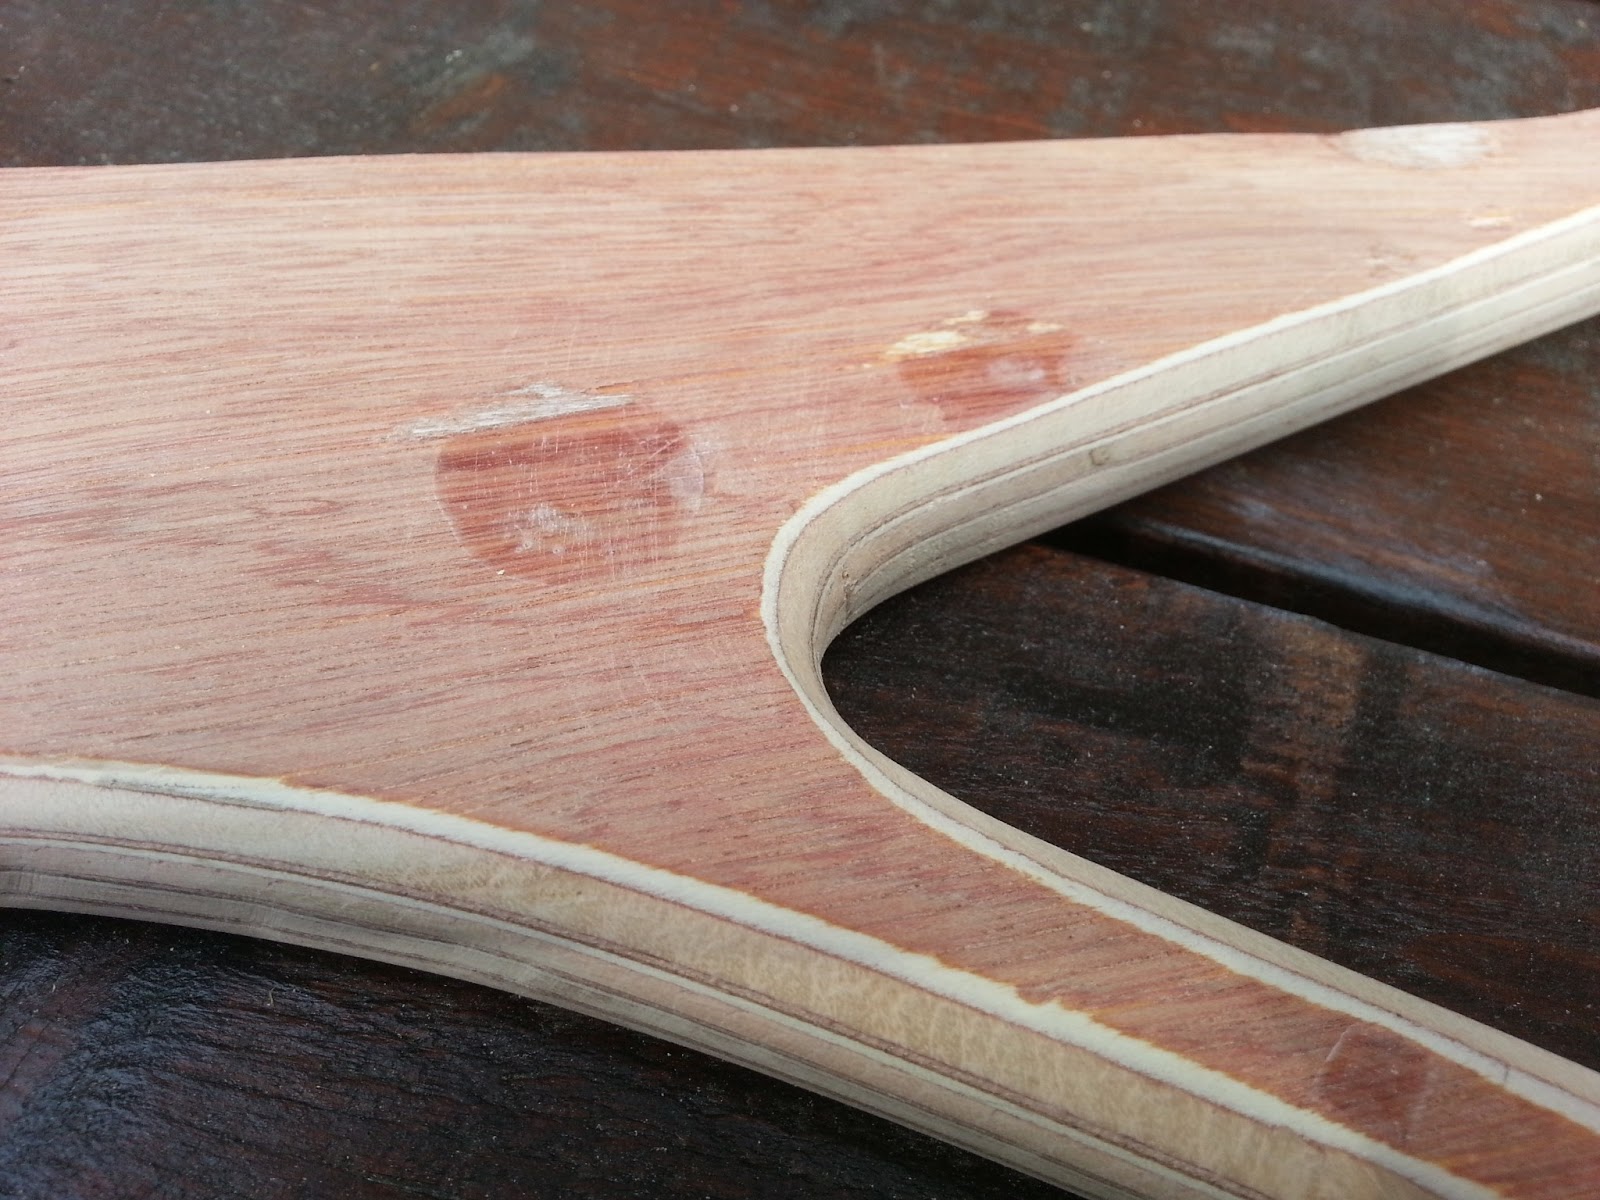
So here we are, after all that hard work the composite frame blank is out of the mold. (mould?) This is exactly the same process as what them Williams or McLaren boys do. Its now ready for shaping!

My original intention was to create asthetically pleasing "grain" lines as the frame was shaped and cut across the various layers of ply. As you can see by these pictures it does look rather nice. I was going to use an ebony stain to get the desired black frame while still retaining the visible grain when you got up close. Concourse stuff!! Alas the poor grade of ply meant that it had imperfections in the surfaces. These imperfections (either different wood vaneer or glue residues etc) meant the stain wasn't uniform across the piece so in the end I had to paint it as it looked rough.

Next up was the swinging arm! This had to be curved to keep things nice and slim. Here it is in the "forming jig". Now your probably wondering how I came across a genuine Red Bull F1 forming mold - well its not who you know its what you know... no wait...

Out of the mold, shape retained and the curve is spot on.


Next up was the forks. I was going to laminate a profile piece but it would have looked a bit naff and I wanted triple clamps and round forks. This is the aforementioned Ohlins broom from which I took the handle! Interestingly I had to try a few brooms and the handles were of very differing strength. Out of 8 the shop had this was by far the stiffest handle - even though they were all the same model! TTX!

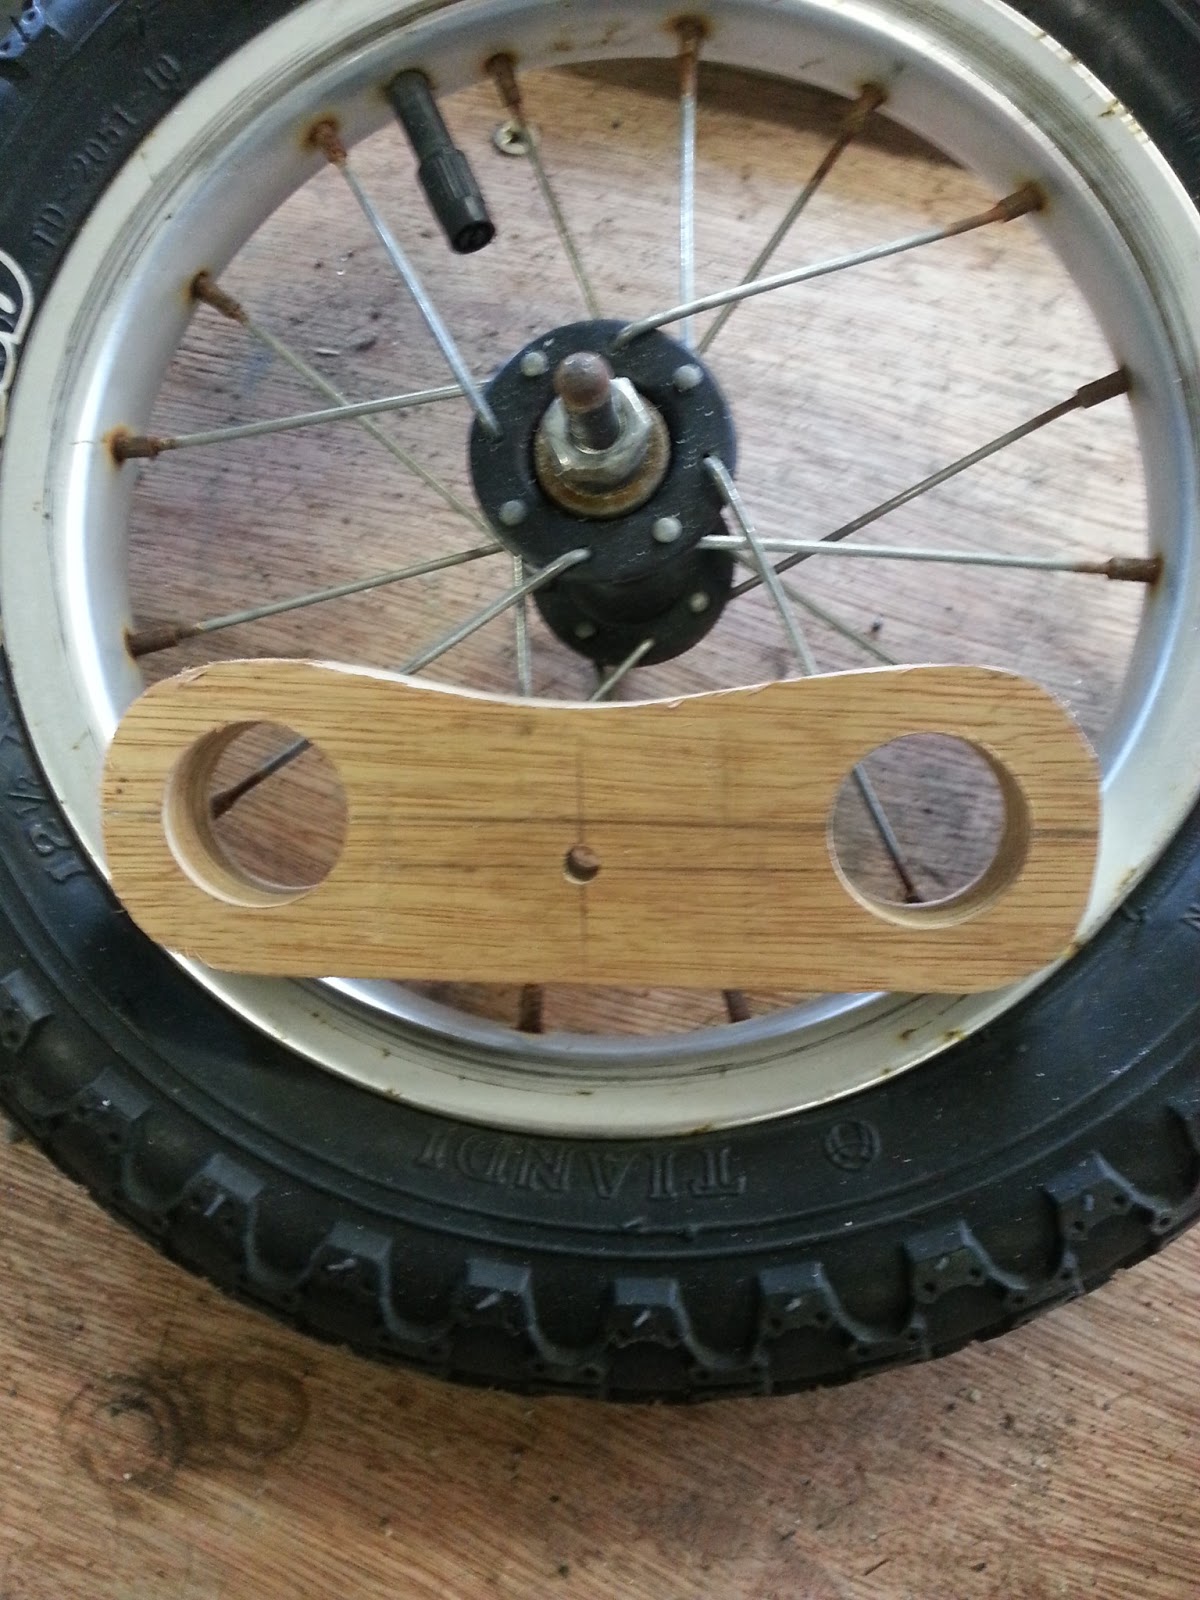
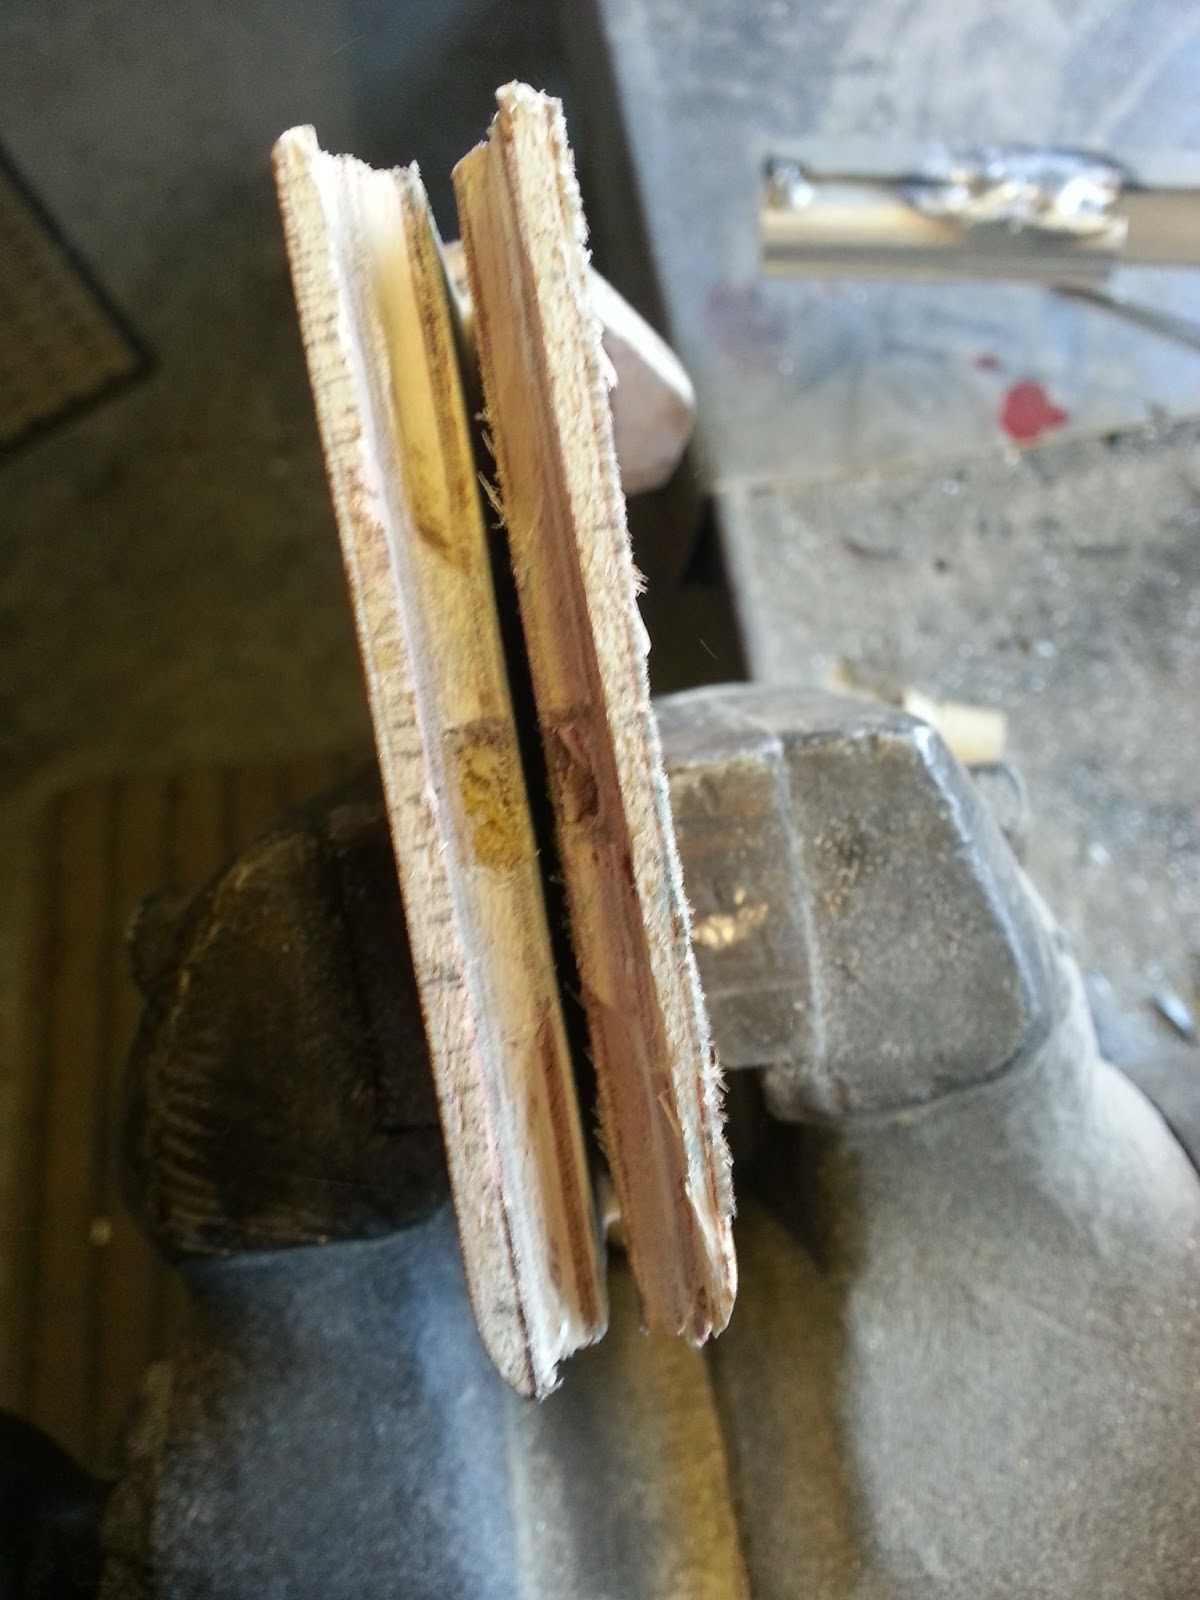
Top Triple clamp I cut from a piece of ply I laminated.
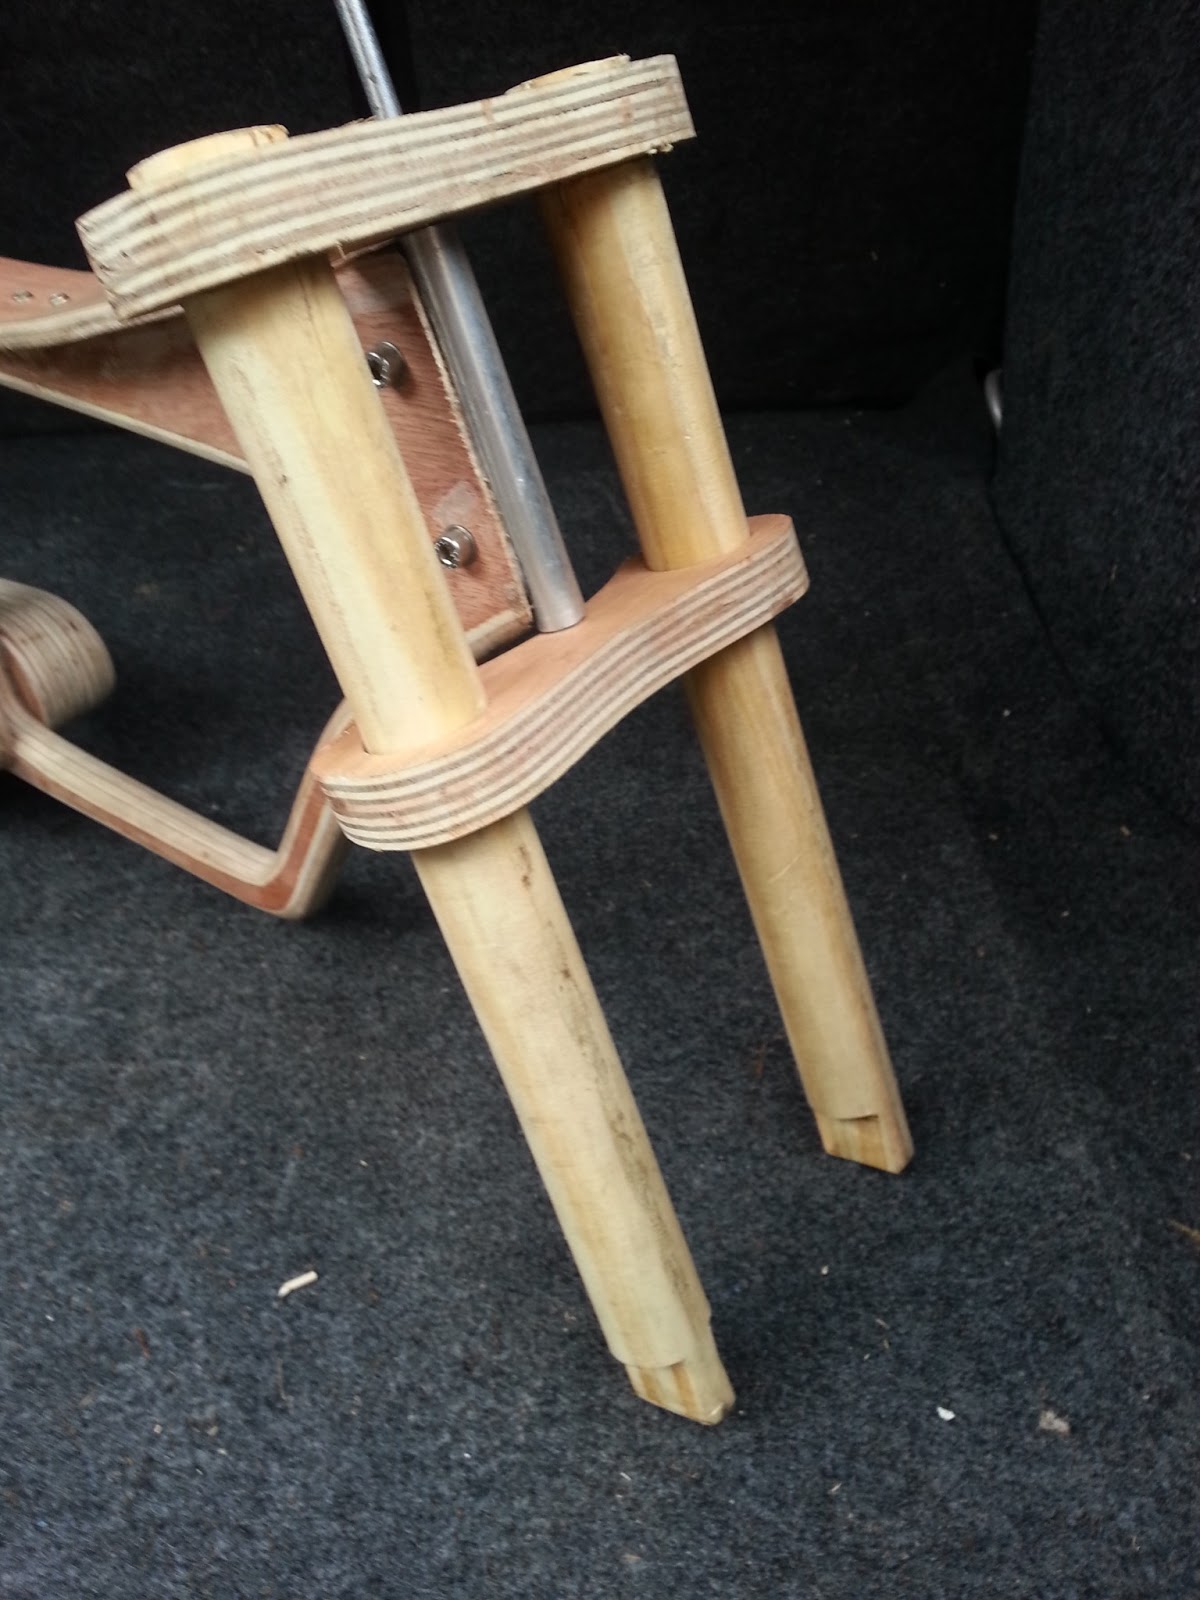
This shows the frontend complete (structurally). Rather beefy - probably too beefy but you can't be too safe!

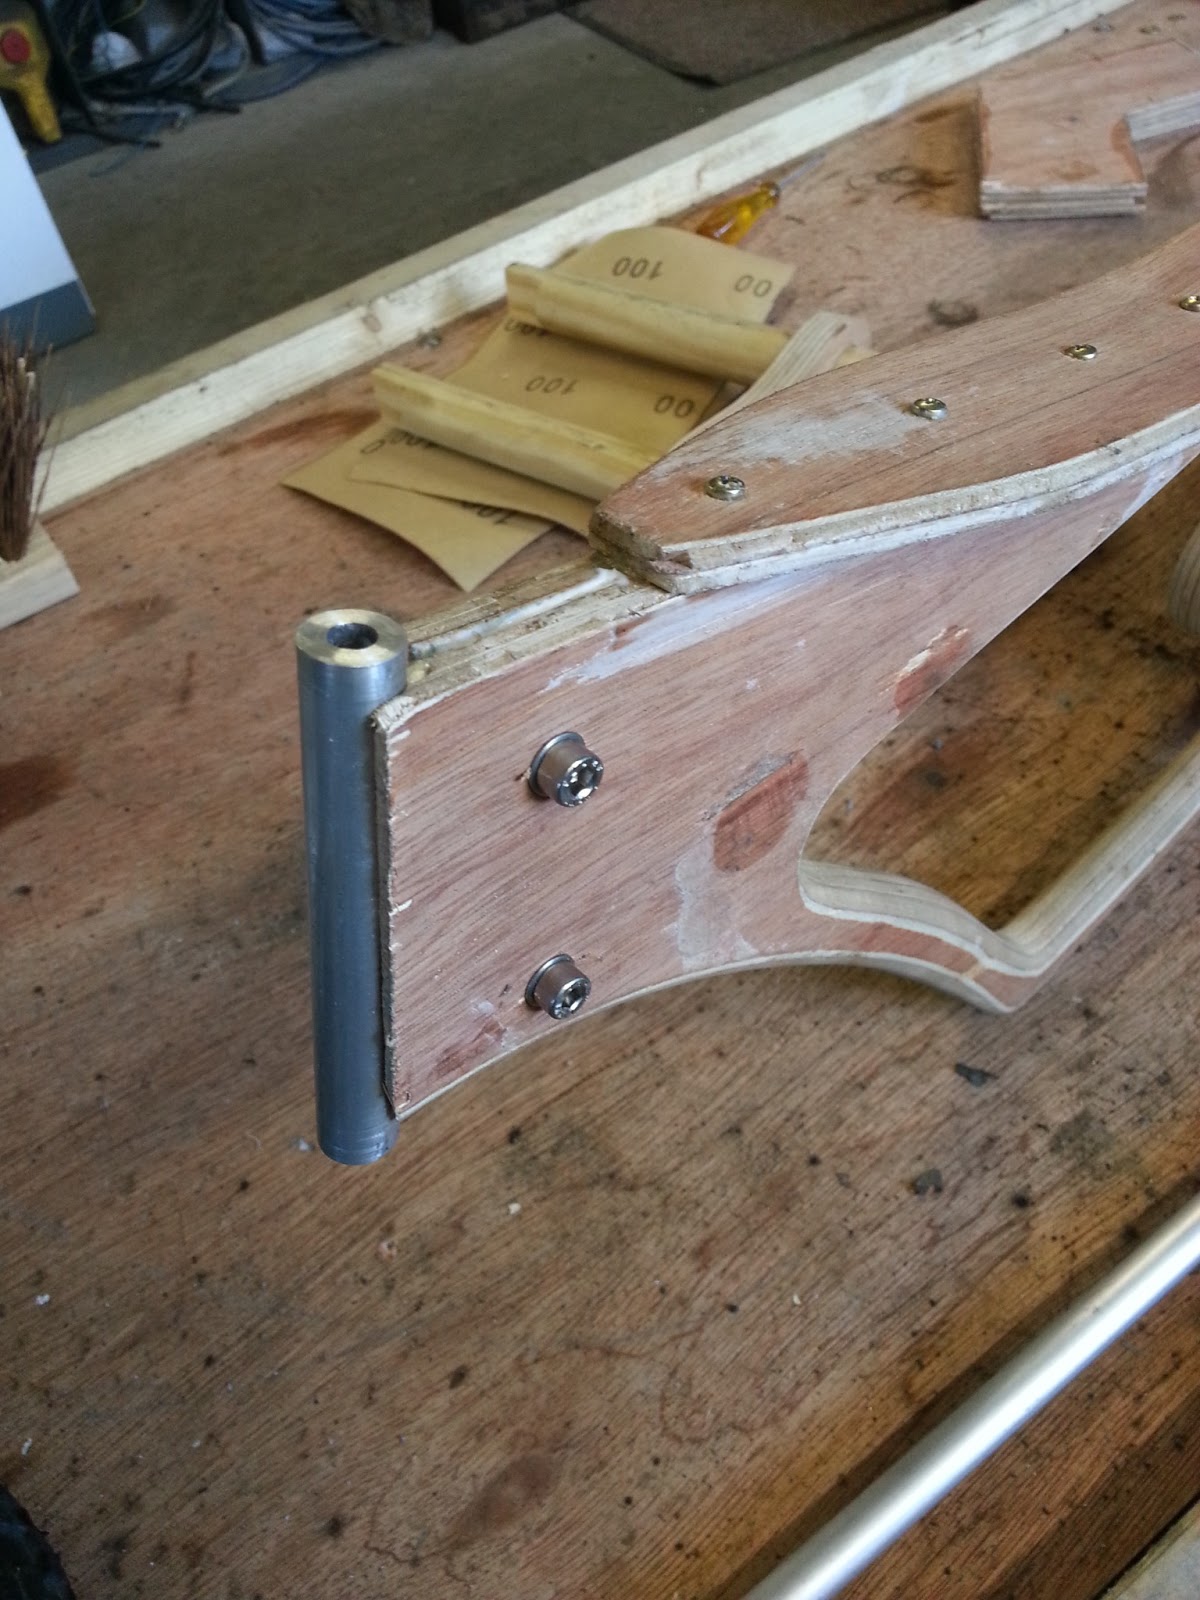
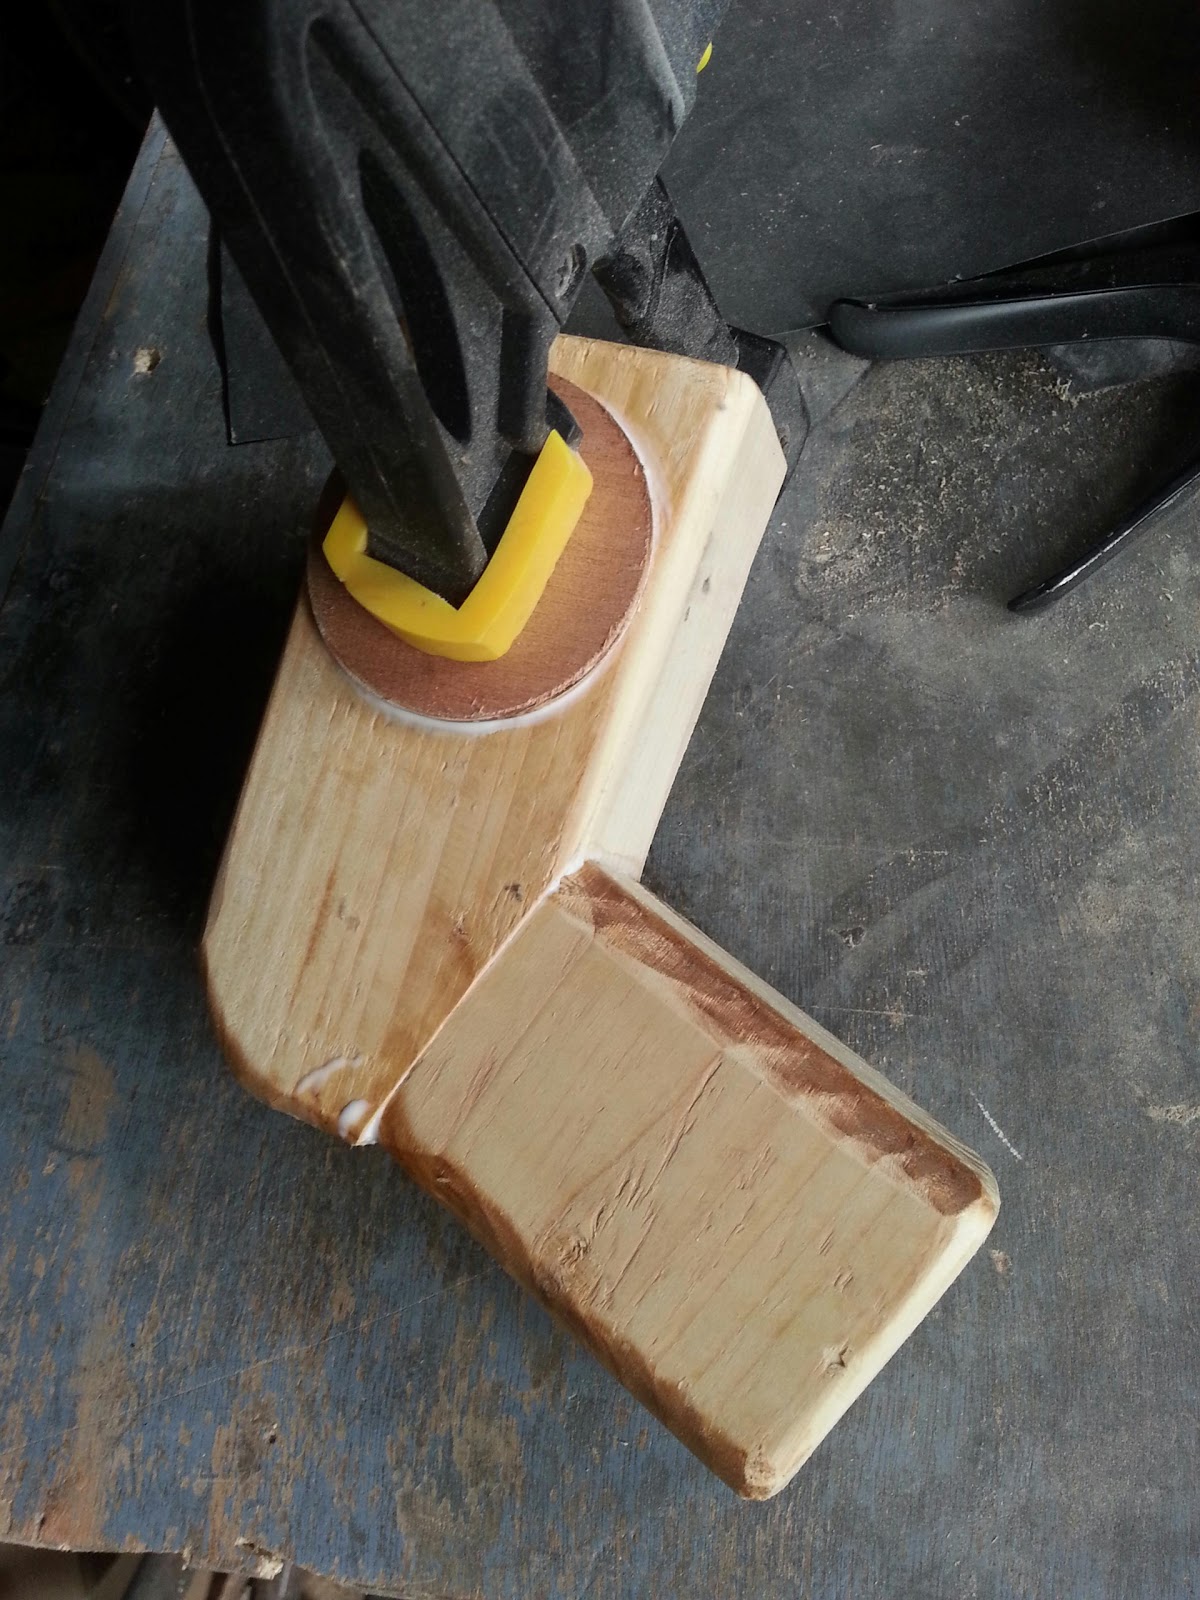
But how are you going to attach it to the frame? The frame spar is so thin?! &*%$ I had thought of this beforehand and this is the magical piece that solves all problems! Its a headstock with a flat fin on one end. The plan would be to cut a channel into the frame that this fin slides into and is both glued and clamped into place. Aircraft spec alloy of course.

The recieving slot. I first drilled a hole the diameter of the headstock then cut the front off so I had a nice half round bit to seat it into.
Here it is, glued and clamped. It still needs sanding to feather it all in nicely but you can now see what I was banging on about. The previous pictures might be a little abstract until you see its final form
The forks assembled. The relief on the lower triple clamp is for clearance against the down tube of the frame. The "stem" is to be 6mm threaded bar, the bolts shown here are for ease of assembly at this stage. Note the forks dropped a couple of mm through the yokes to increase steering etc etc...

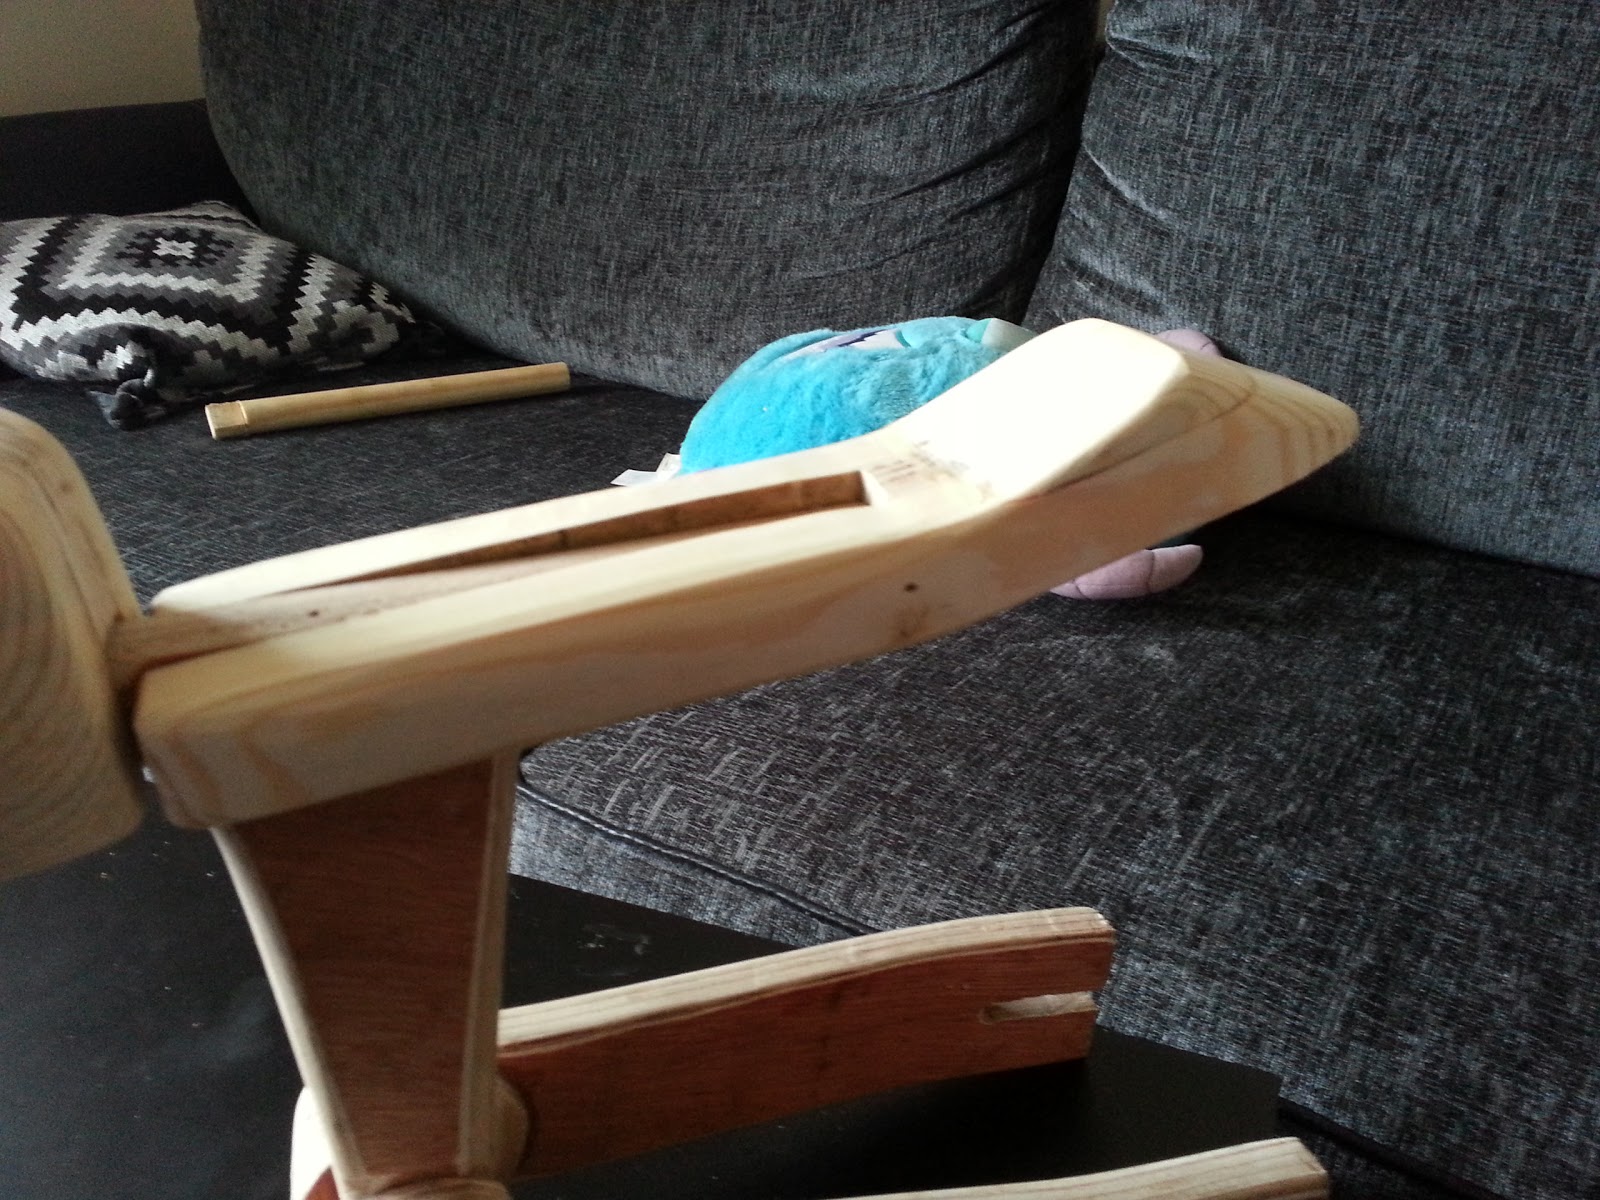
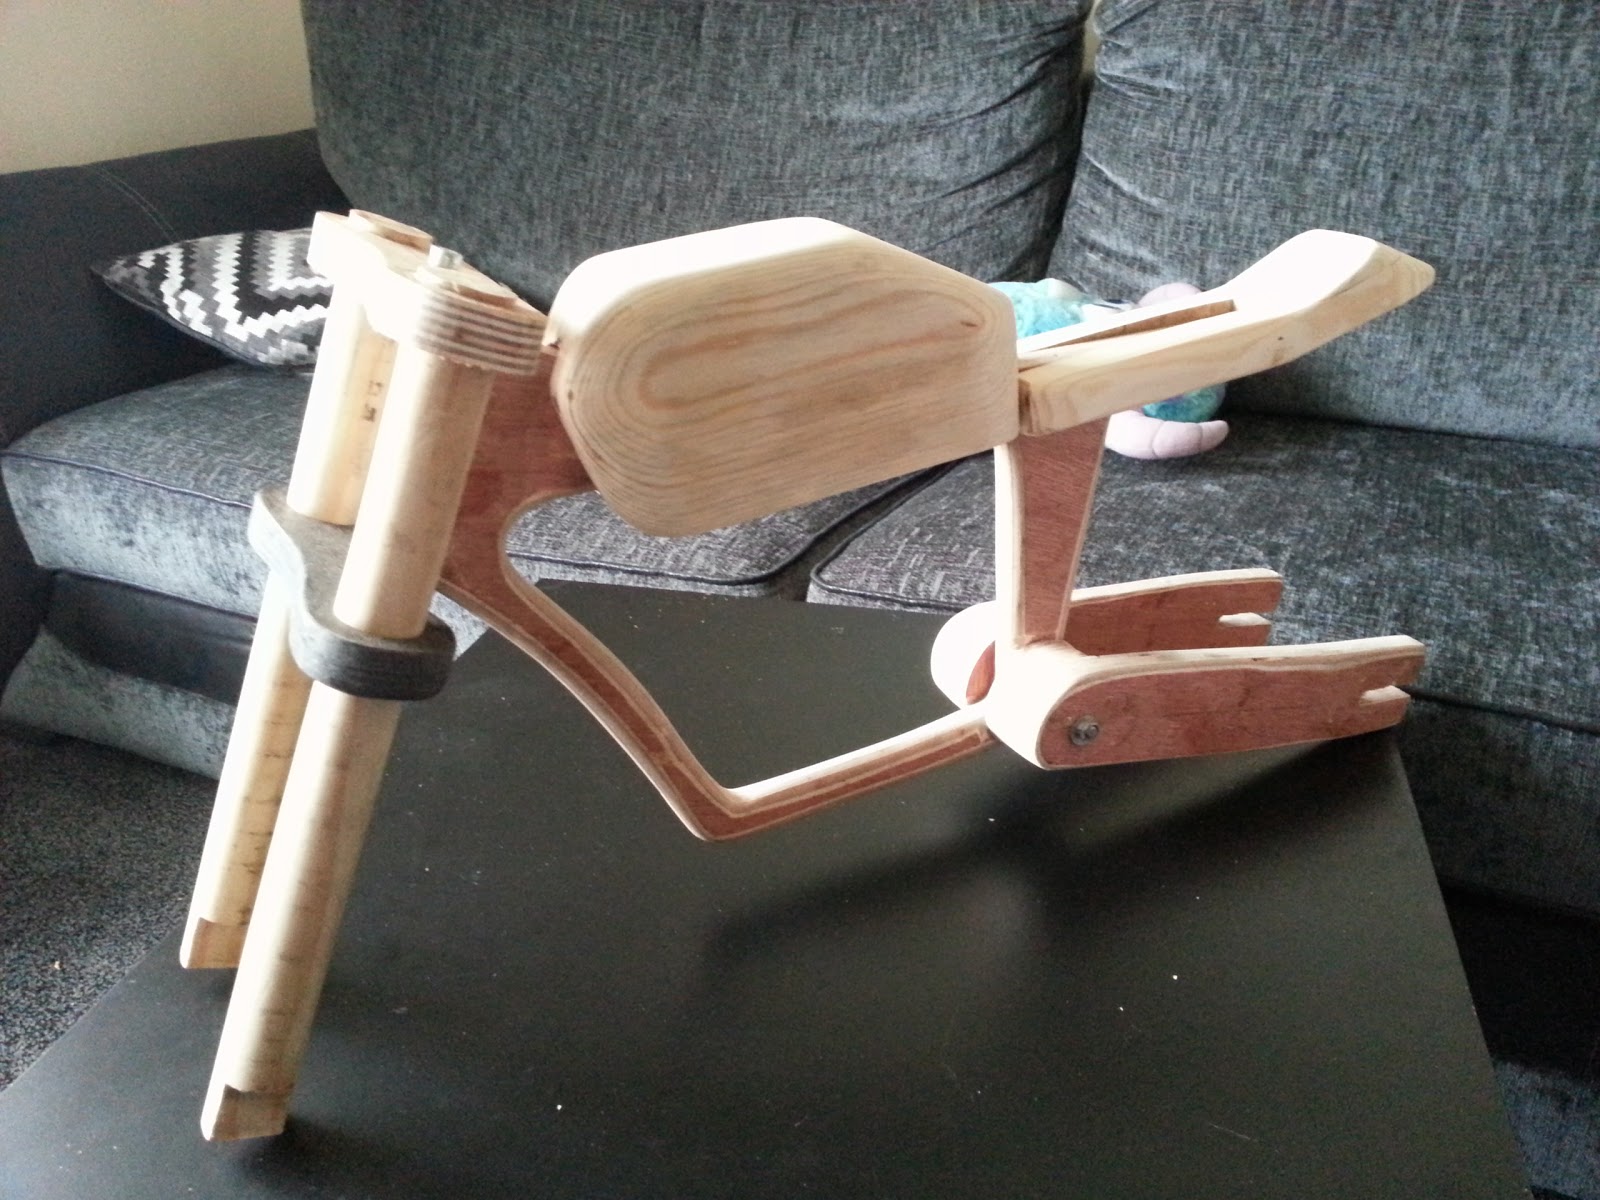
This is the assembled chassis. At this stage I had a strenghtening "rib" running along the top. I was unsure at this stage how to make the tank/seat and was thinking about making plywood boxes to sit on it. In the end I laminated them from ply and they fit snugly over the frame spar so the rib was removed as the additional thickness of the tank/frame greatly increased stiffness, plus the rib made it tricky to put stuff on as it had to fit around it etc
You can see the swingarm attachment. Yeah its solid and doesn't actually "swing". I added a 6mm bar through it just as a precaution really then its glued up and clamped. I sanded it all in leaving it thick as I will be putting the footrests off it later on.

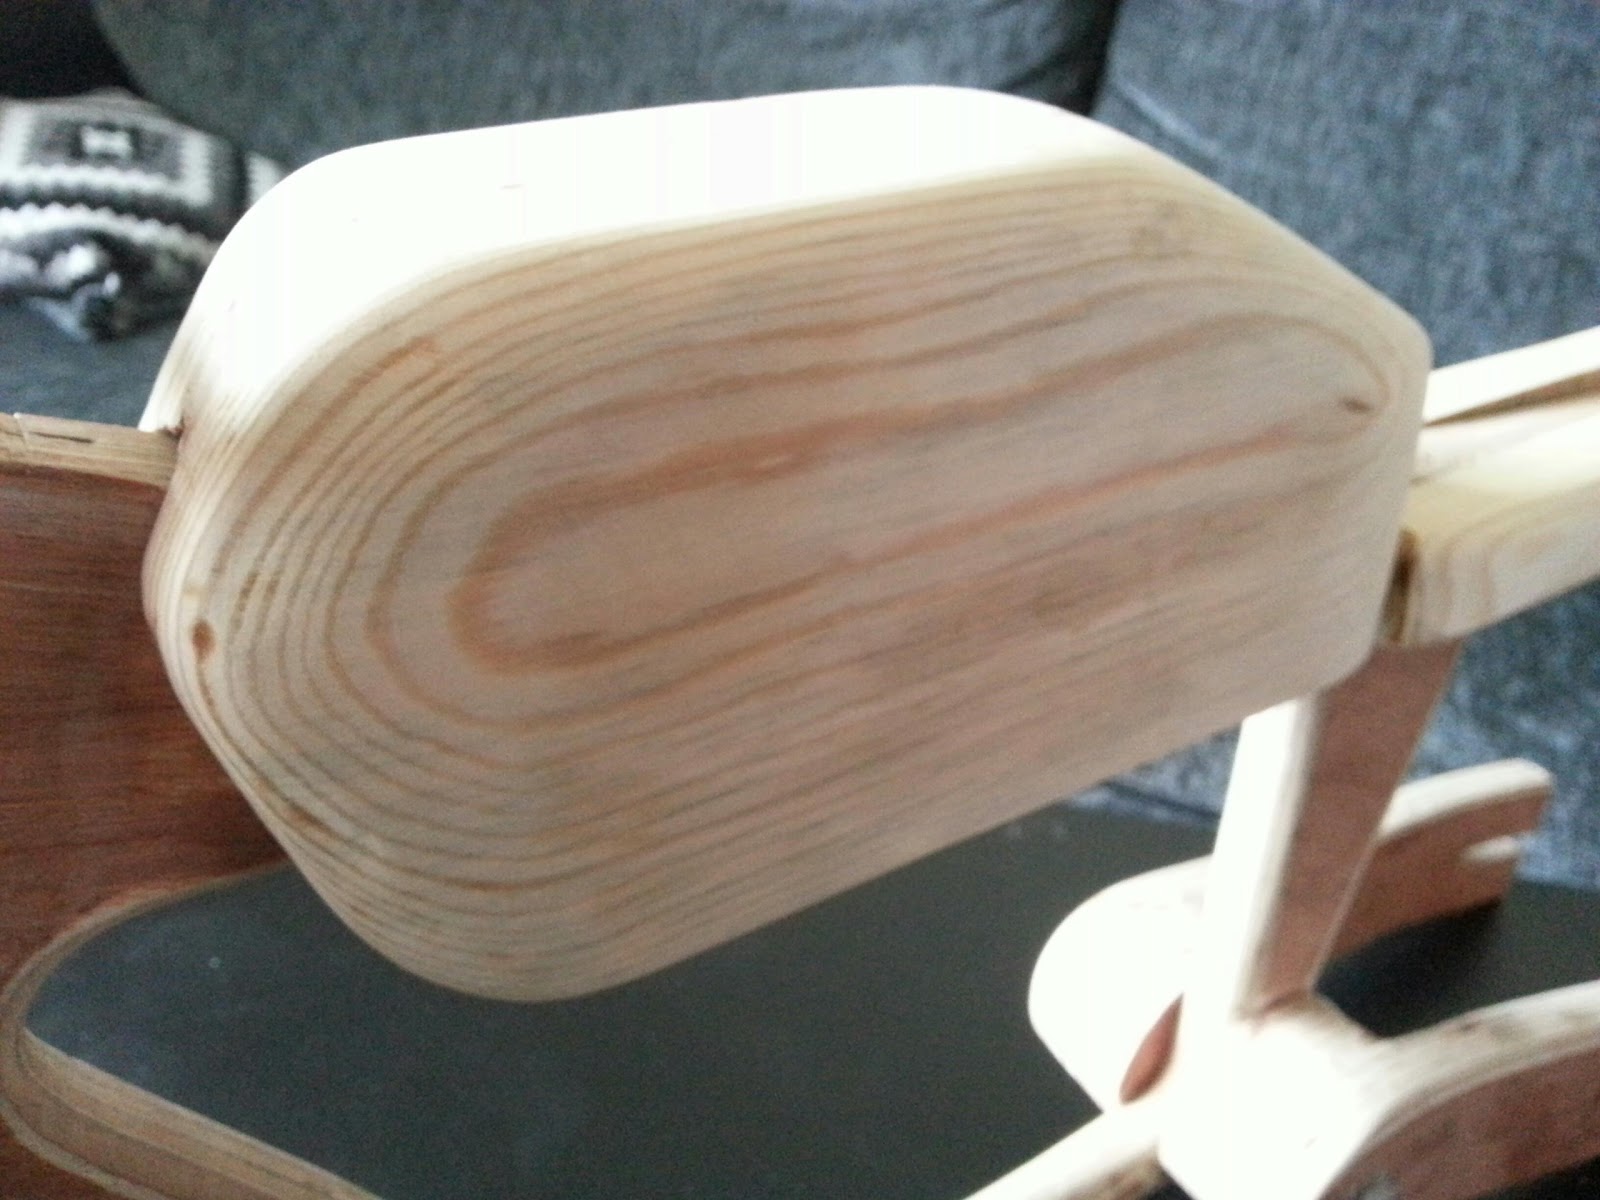
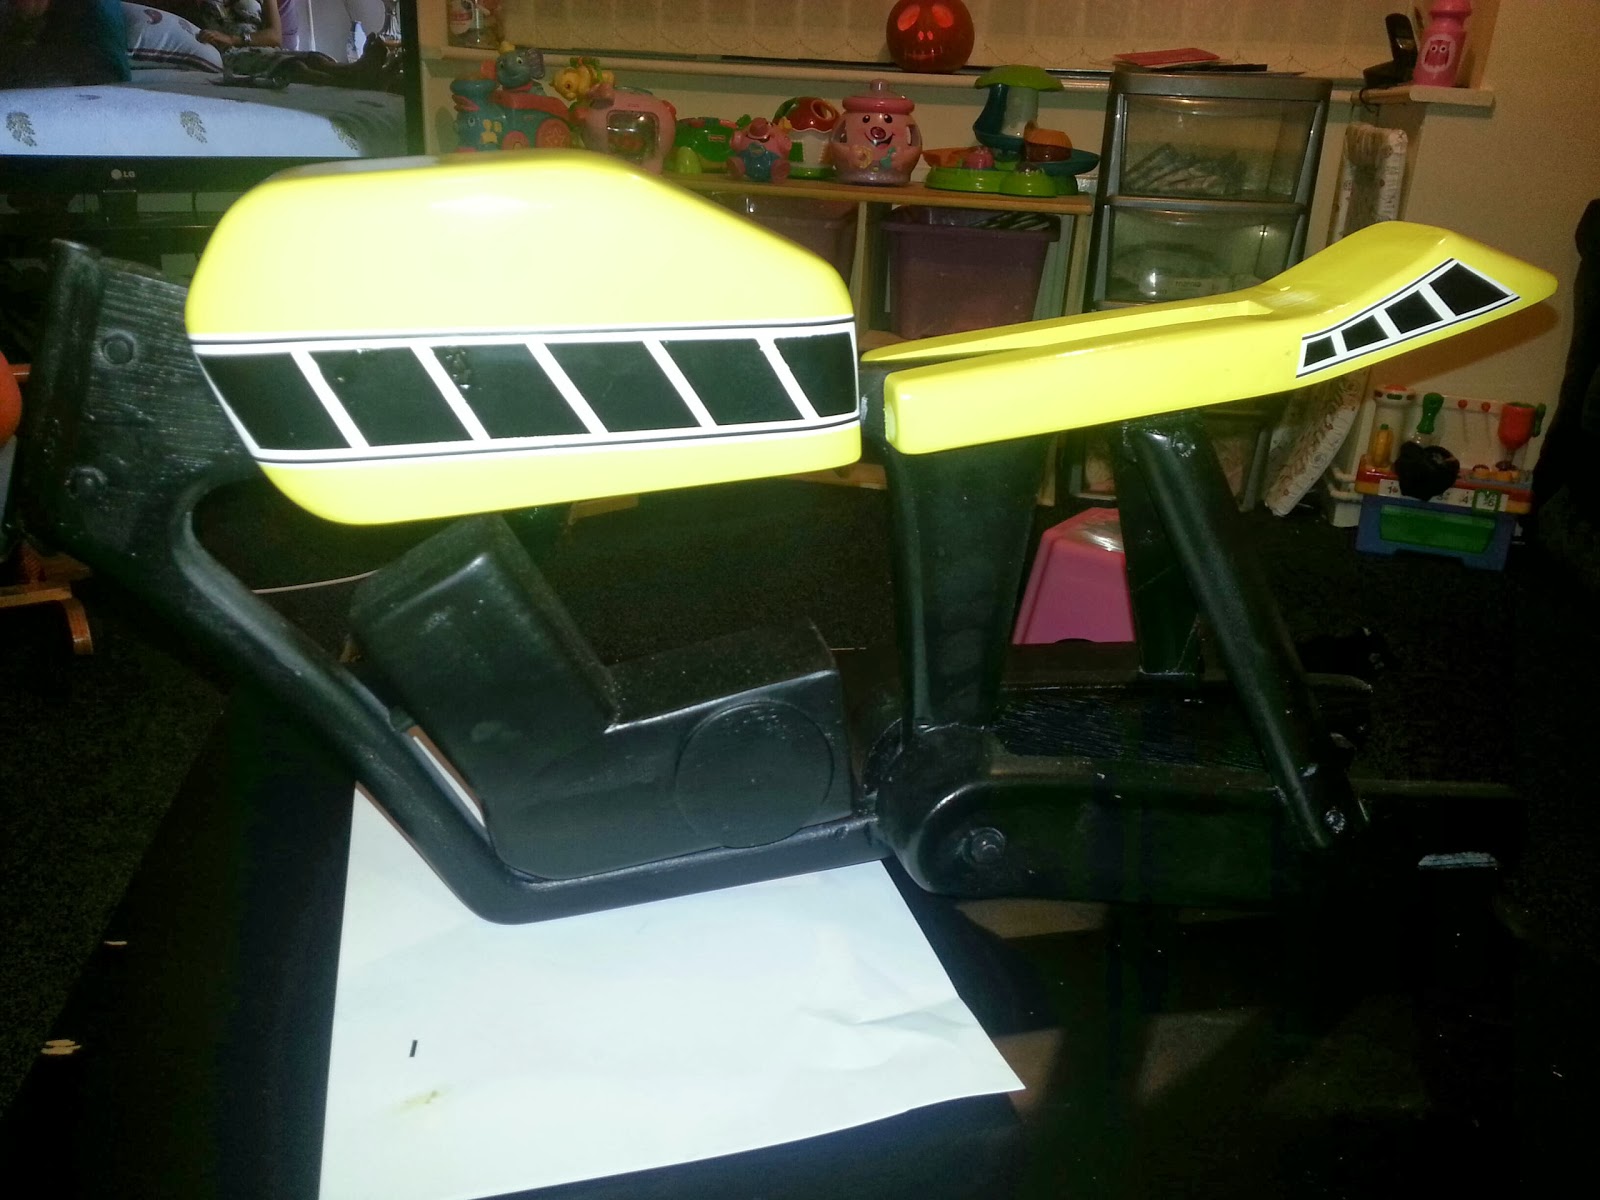
Here are the shaped tank and seat units. These are a perfect fit around the frame as I laminated the 3 pieces from the same ply. At the mo they are simply press fit but once everything is done they will be glued in place forming a solid piece.
Next up was the engine! TZ 750 engines are quite rare and probably a bit heavy and lairy for a "nearly" 2 year old. So I am making a wooden one...
So yeah, this is pretty much where I am up to... Not sure when I will get around to doing the rest, I need to lace up 1 wheel, make the risers and bars, footrests, paint the forks and number plates etc. The seat will be neoprene or something similar, perfectly shaped very much on par with a Corbin or Archer one

I am thinking about adding some ancilliaries to it like spark plug leads, a carb etc but not 100% sure about it yet.
 Topic: Wooden Suspension (Read 5967 times)