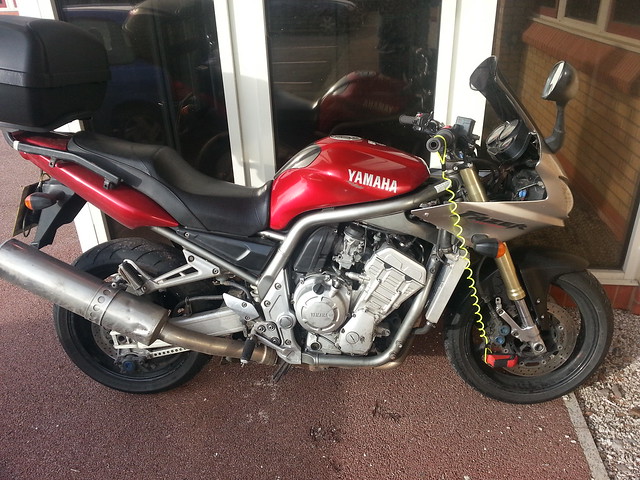
Ok so, fitted some R1 forks yesterday and I must say the results are superb! Kind of as expected it feels like a different bike and with the BMW S100RR shock it now feels a lot like an overgrown pit bike while still having the all day comfort Fazer riding position

This is just a post with some pics rather than any kind of "how to", I did at one point contemplate doing that but decided against it because a) This is probably not a usual path to fit them, b) As we were rebuilding the forks and oil was on paws etc it was too much hassle to keep wiping hands and operating a camera/phone, c) its been done many times before - this is nothing new... It does however feature a couple of different things so I will put that in here.
Basically this is a poor mans way to fit them* This was my shopping list
4XV R1 forks (£100 off eBay). These have polished bottoms which I will be putting back to a satin finish... Seller mentioned one might be leaking so.
Pyramid fork seals £9.95
R1 mudguard. New ABS replica from china, £26 delivered. This is awesome! And cheaper than the "slight damage" second hand ones on eBay. No Brainer.
R6 2CO yokes £25 off eBay (see below for info)
0.95 fork springs £10 eBay - (These are std Triumph Daytona 675 springs that are .95 linear ones like you pay £85 +P&P from K-Tech for...)
* When I say poor man I actually mean someone not spending a whole lot of cash on an Cat C bike I only got to use over winter - but like it more than any other I have owned... And with access to a full race workshop+staff (ie my old man and brother)
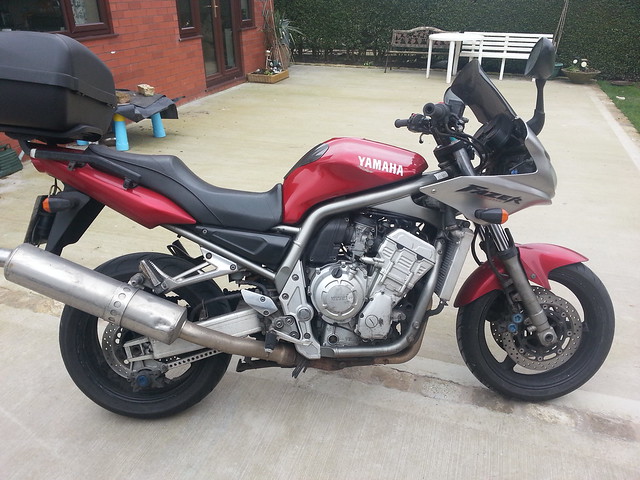
Before:
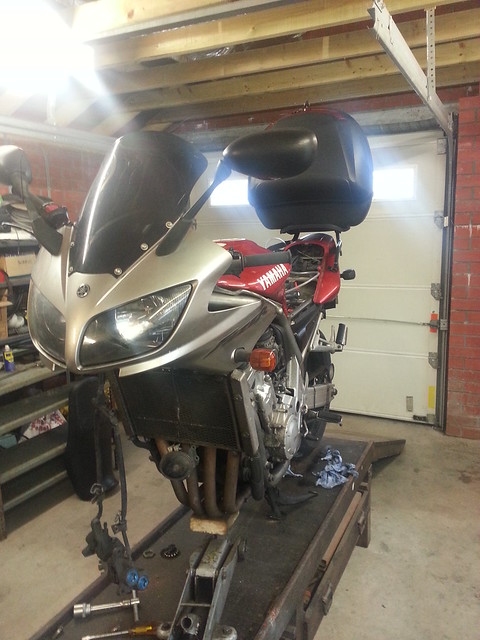
Here it is, in all its tatty glory. Ex Cat C means nothing is colour matched hence the unintentional two tone
mechanically its sound and now sports a BMW S1000RR shock, ally radiator using the same cores as a Pace rad and more!
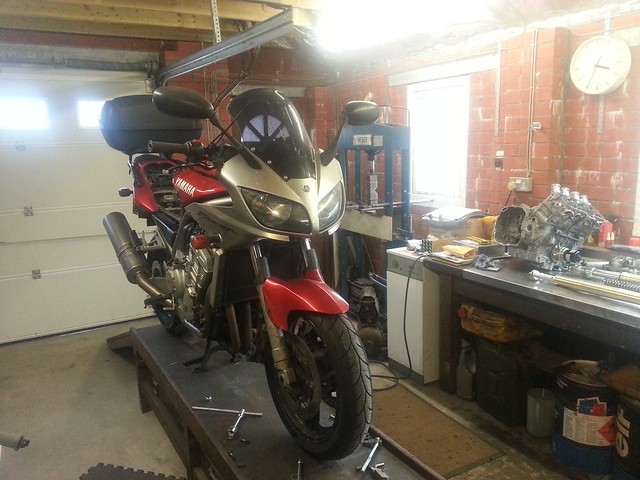
On Plinth: Awaiting the mods - Note the hydraulic press in the background (blue) which has the obligatory Hollywood style cracked pressure guage (obscured by the bikes left mirror...)
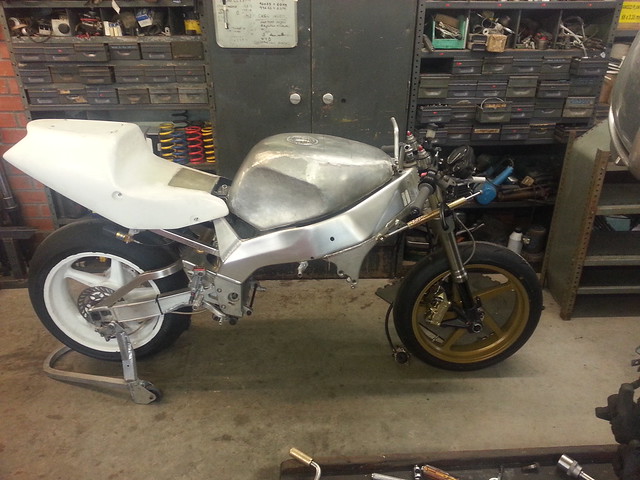
This was moved off the plinth to make way! Yes its small - No I wouldn't want to commute on it.. Yes its trick, Ohlins, Marchecini wheels, alloy tank etc No I can't have the preload adjuster or spare 6" rear dymag

!!
Yokes
I saw a set of R6 yokes on eBay off a 2CO R6 that were ending in about 4 mins. A quick google session revealed a bunch of guys claiming to have slipped R1 forks into their R6's. So I bought them, to be fair they were cheap at £25. Turns out that R6 forks are not the same diam as the R1 at the bottom yoke. I couldn't use em so not sure what those forum guys were on about, however the YZF above has its std yokes doing nothing and amazingly have the same offsets as an R6 so I could use the bottom yoke off that - gratis - just needed a 1mm sleeve, easy! The YZF top yoke is odd as it holds the forks higher than the stem bolt which meant that I would have lost a further 12 mm or so if I used that.
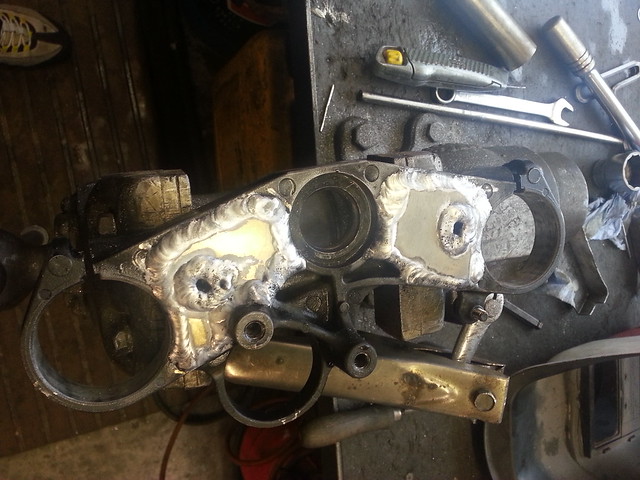
Instead of making some ally inserts or just welding around the holes we put plates on the underside and welded it up to strengthen the holes for the risers. Here they are just welded, I didn't take any pics once bored out and finished.
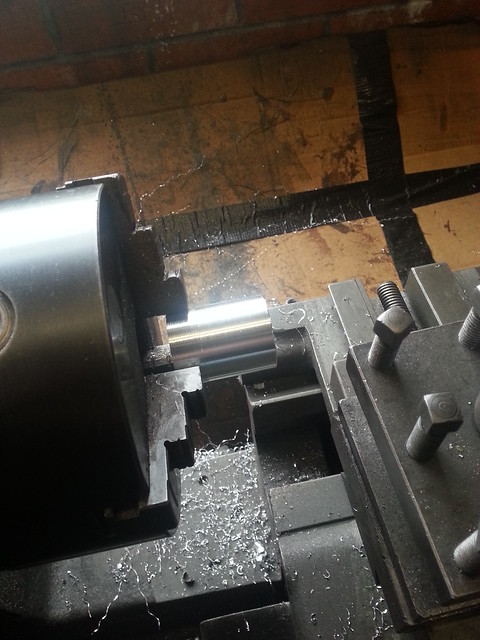
Stem: Bit of a deviation from the traditional R1 fork fitting route: Having seen that people make a spacer to lift the top yoke enabling the nut to clamp it down to the headstock I decided I wanted to machine more threads onto the stem and chop the top off. This means it doesn't need a spacer and the yoke is 12mm lower - this means I can get 12mm of rideheight back which is great. I didn't make longer risers as the slightly lower handlebars feels really good and more comfortable than the near bolt upright std riding position.
Forks
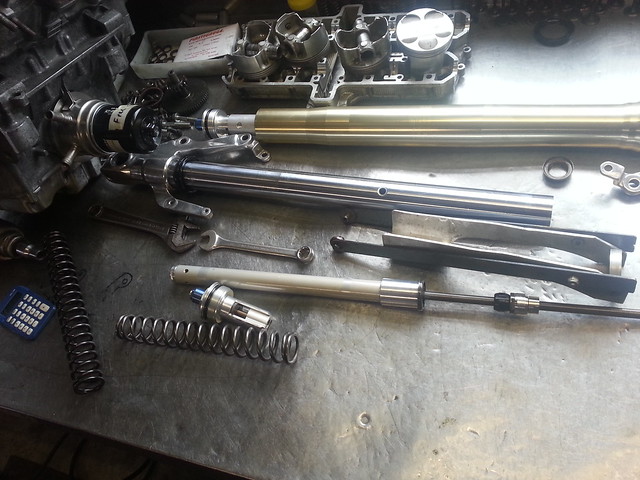
As mentioned the seller commented that these might have an oil leak so we put new seals in. The seals, Pyramid Parts let us down a bit. I have used them in my crf450 and fireblade with good results but these didn't really fit right, the outside edge was very loose so we put some instant gasket on as a bit of a dodge, if they leak I will have to put some better ones in. Here are the forks after dismantling and measuring for the spacers.
Spacers
The std R1 springs are 255mm (even though K-Tech specify 250mm) but the Triumph ones I got are 235 so we made an ally spacer to correct it.
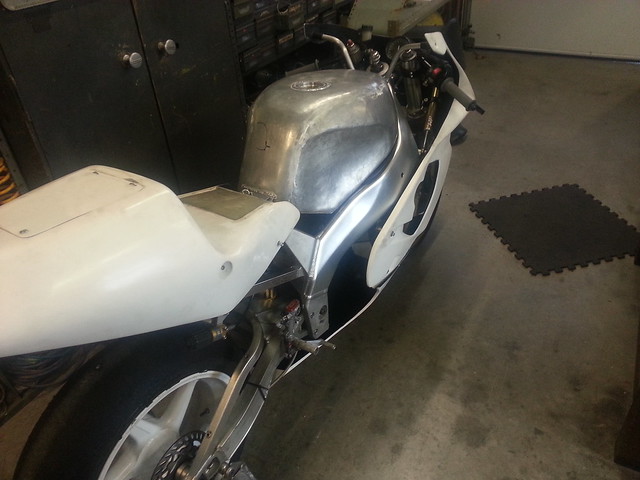
No front, looking needy, you can clearly see the effort I take with cleaning over winter...
The ignition barrel fit easy enough with some 4mm spacers, the steering lock could operate (but mine requires a 10 min jiggle session to get it off so I don't use it) etc. The risers on the std fazer are mounted in bushes with rubber gaskets, I just bolted mine up straight, metal to metal. I did expect a bit of buzz but in fact they are perfect, no vibes and no bar weights in my Renthals.
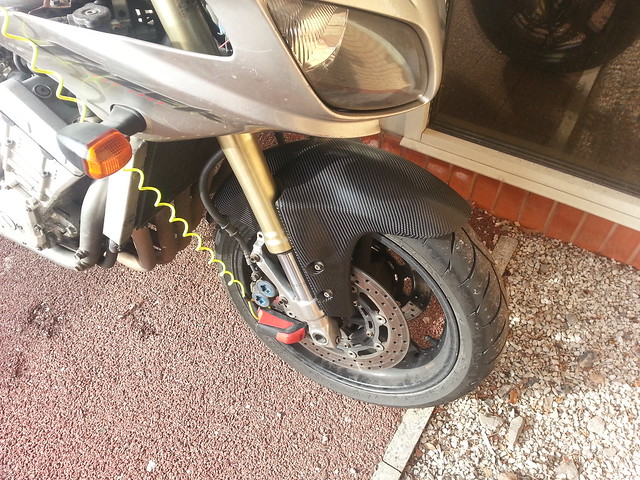
As I intend to make a carbon fibre mudguard using this as a plug I wrapped it in vinyl to protect it a bit and to see how it looked, looks pretty good really. The carbon one I make will have a fender extender built in rather than a bolt on.
Finished! Couldn't be happier with it! Its like getting a new bike, again!
The King of Bling wrapped mudguard
Things to complete: Need two bolts for the mudguard rear mounting points. Some sort of silencer/pipe - the damaged std one looks messy and is too quiet. Paint - or I am actually thinking of vinyl wrapping it in a Lawson FZ 750 race replica, maybe with a matt finish.

