Wow
You know when you've completed a job and you think "Why the hell didn't I do that years ago?"
I just took the bike out for a spin with the modified seat and it's bloody fantastic! I'd even go so far as to say it's almost like riding a different bike - instead of getting irritated about having to shift my arse back every two minutes I can just concentrate on the ride. It's made me realise just how bad the original seat was, for me. I know some are happy with it but for me the forward-pitch (forward-backward slope) was way too high, meaning I couldn't sit back where I wanted to sit, and the negative cradle (raised in the middle, viewed from the front) made the seat uncomfortable really quickly.
I bought some soft and firm foam and some adhesive as advised
here and set about fixing the seat.
The seat is now much more flat, both forward-backward (the pitch) and side-to-side (so the 'cradle' is now zero, rather than negative).
It's SO MUCH more comfortable!!! I can sit where I want and I can still move around when I want to - I can still hang off the side but now there's a much more noticeable step at the edge of the flat top of the seat, which I quite like because it's a useful indicator of how far over from centre I'm sat. Also, I'm just slightly lower which reduces wind turbulence a bit. But it's just as good at absorbing bumps coz the foam is a better quality than the cheap yellow crap Yamaha injects into the original seat mold.
All-in-all, I think I was a bit lucky that it turned out so well but I'm really happy with how it's turned out and I'm so glad I did the job. That seat was starting to put me off riding and now I'm wondering why the hell I put up with it so long. I say I was a bit lucky coz it could have gone badly and I'd have ended up having to buy a new seat... but actually that would have been a good result too coz there's no way I would have gone for another original.
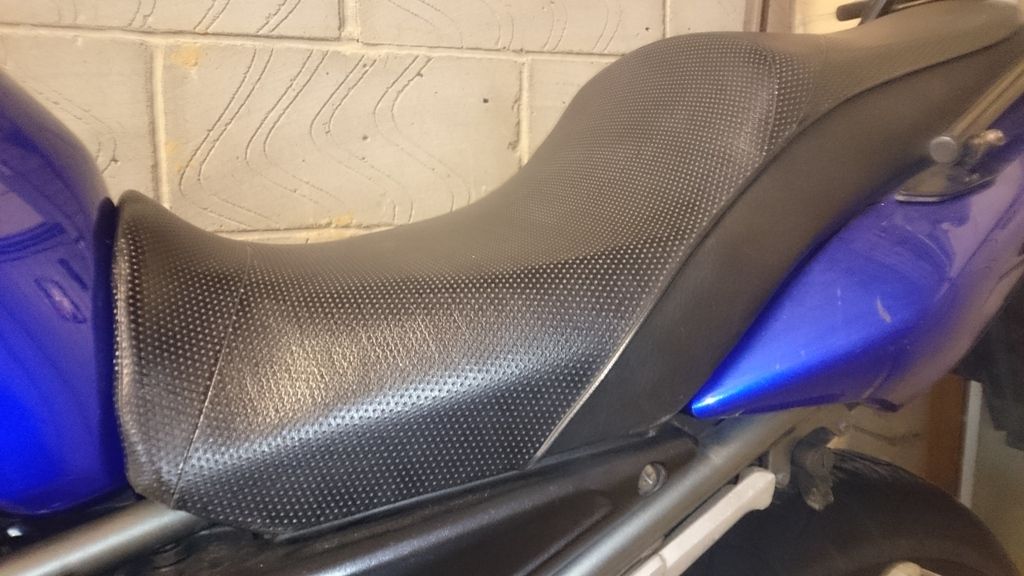
First of all, how it ended up:
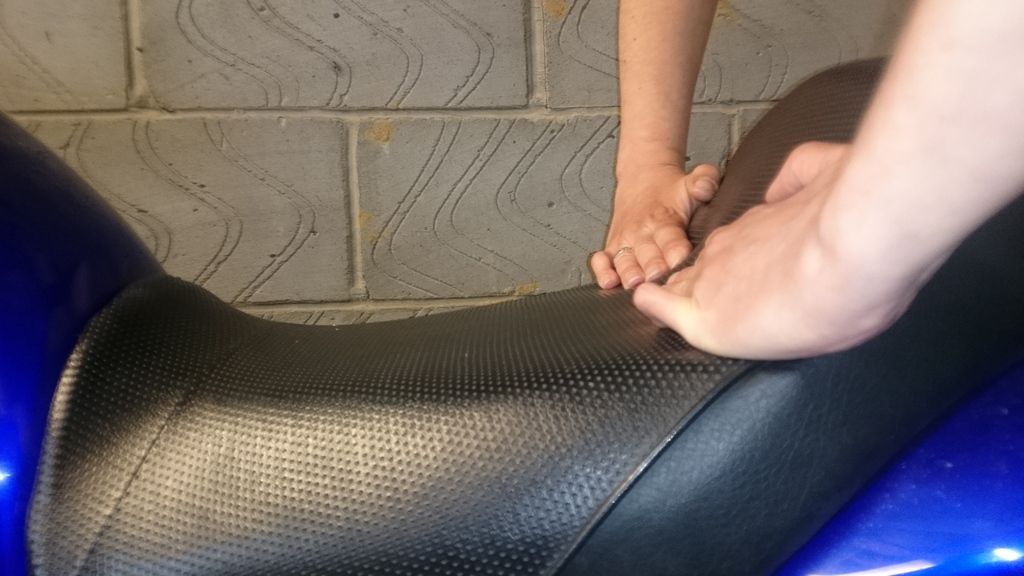
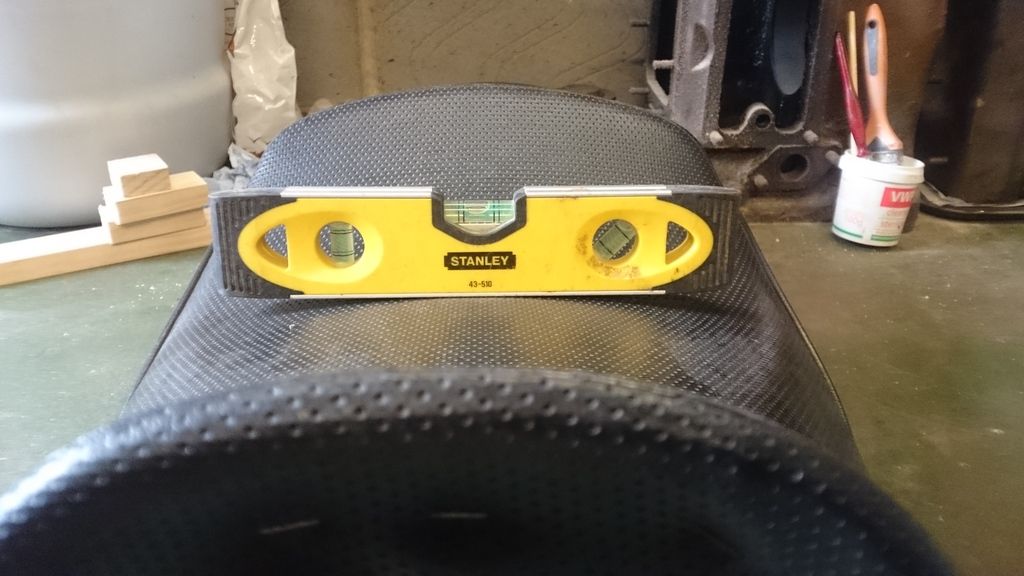
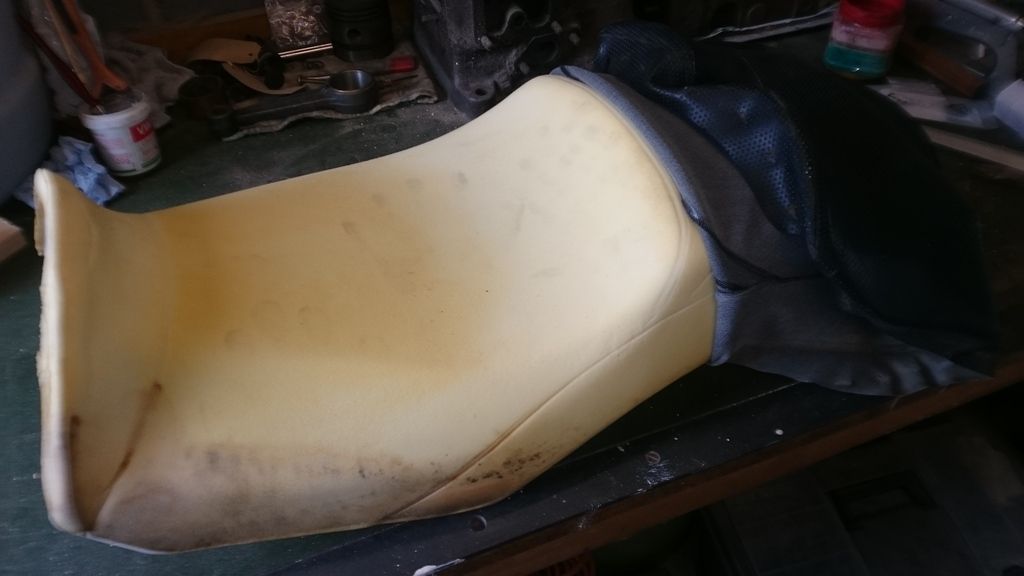
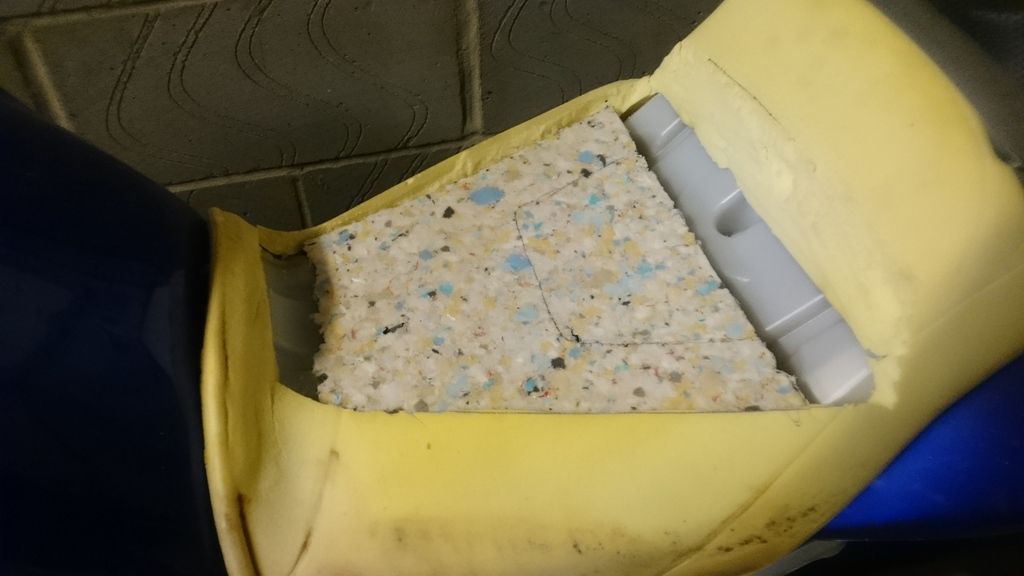
You can't see the actual shape of the seat in the photo where the rider's seat meets the slope up to the pillion seat coz the cover is under a bit of tension. I got the other half to hold the cover down on the foam for this one to show the shape of the foam underneath:
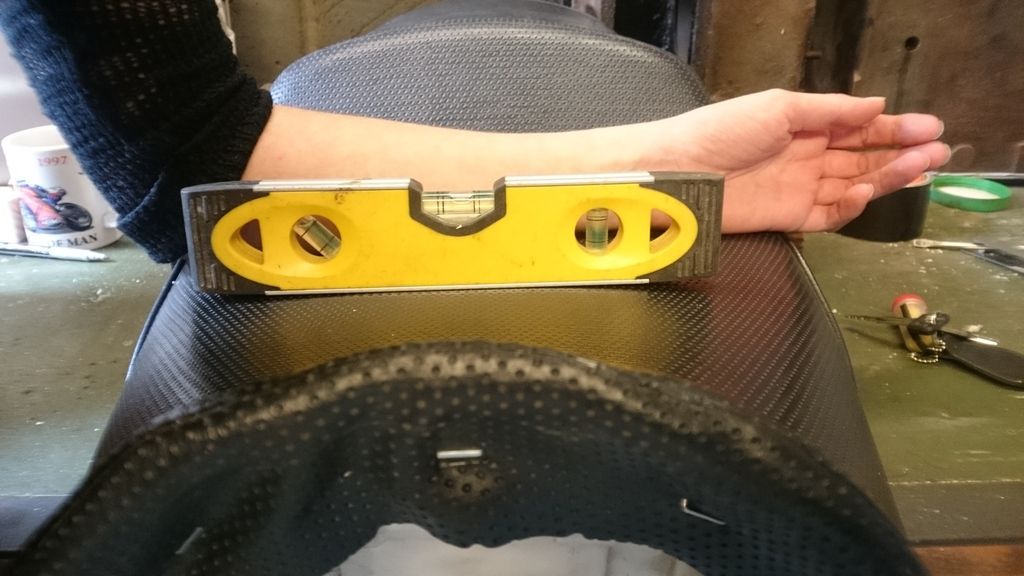
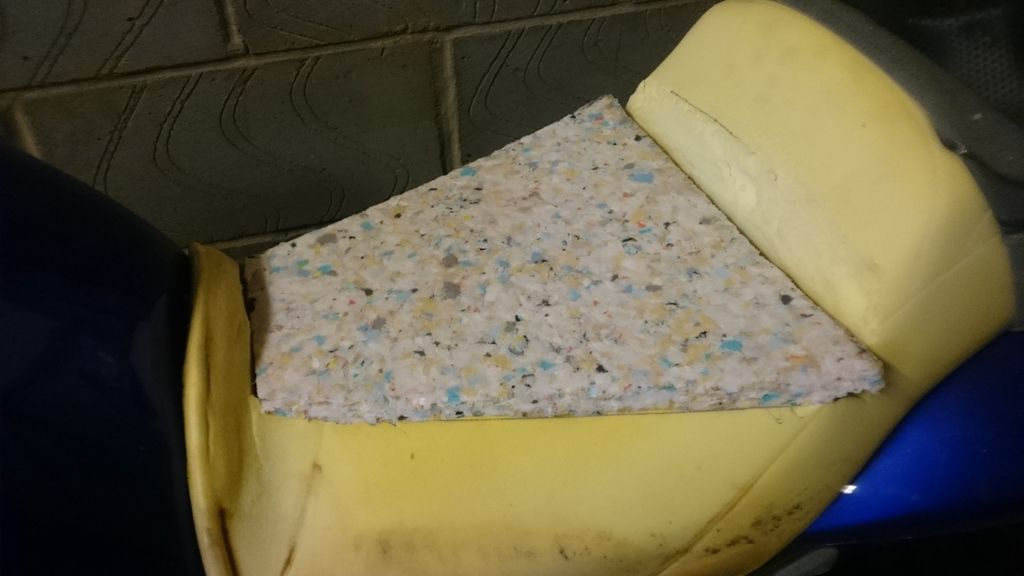
It's got less pitch as shown by this before-and-after pair:
Before:
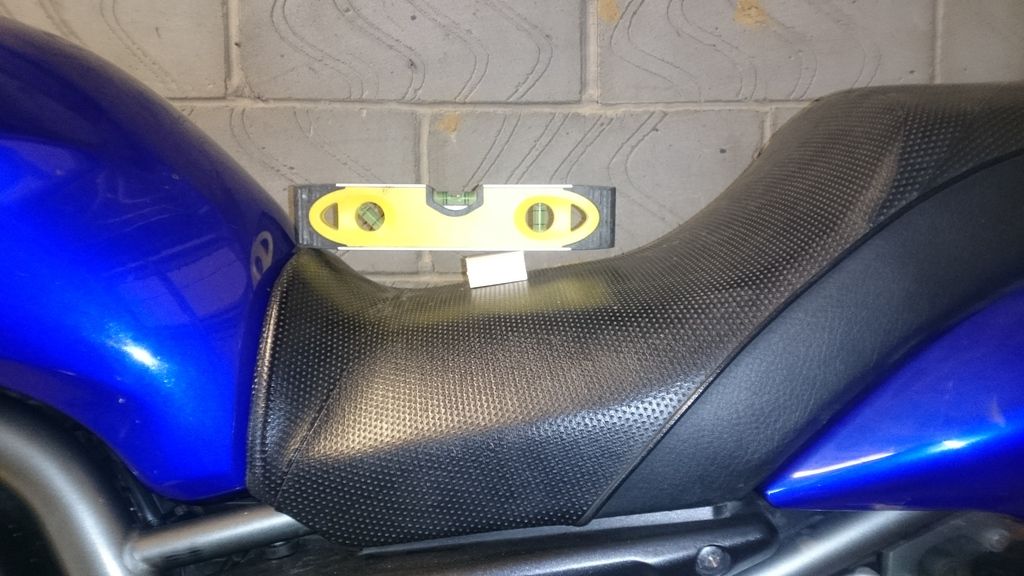
After:
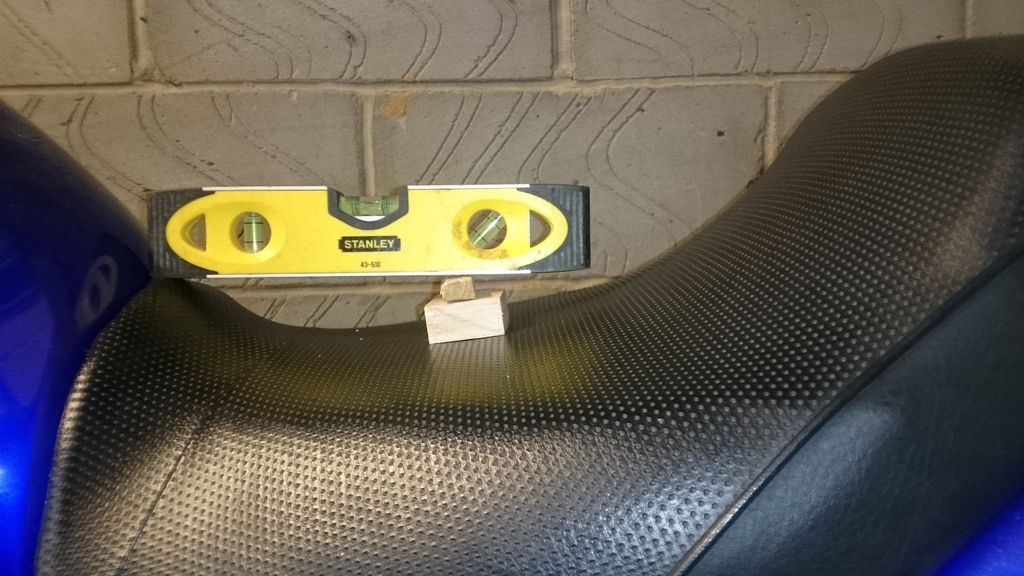
And the rider-to-pillion seat rise is much more of a step-shape rather than a slope so you can get your arse back in there without it constantly sliding forward down the slope.
And these two show how the seat has been flattened out side-to-side (better cradle):
Before - convex arse cracker:
After - flatter - much better:
So, the project - I bought:
40cm x 60cm recon (firm) foam
40cm x 80cm regal luxury (soft) foam
foam total cost £32
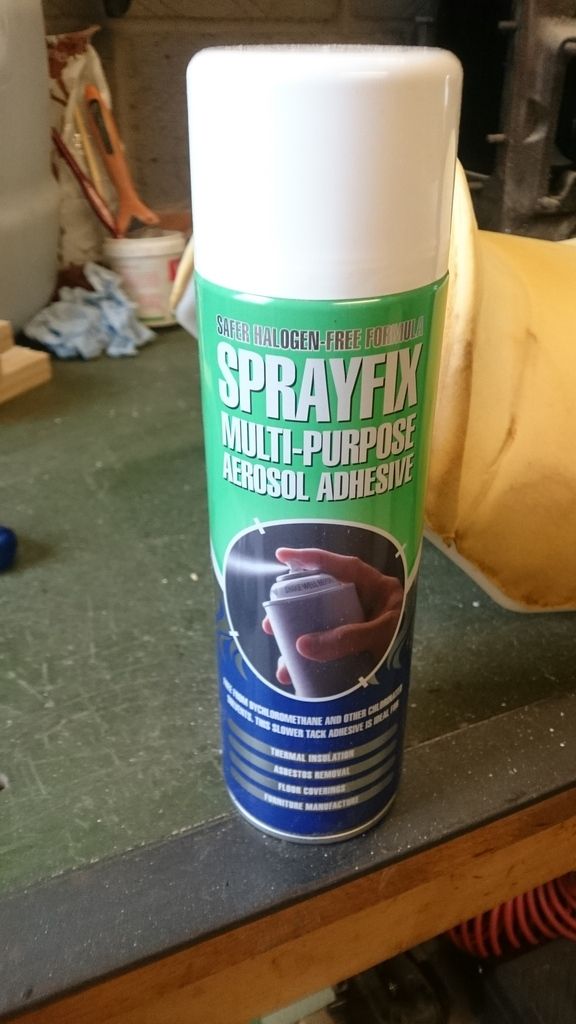
Some spray adhesive - £7
Some staples - 4
As you'll see, I didn't use the soft foam - I paid out £43 but without the soft foam it would have been about £25.
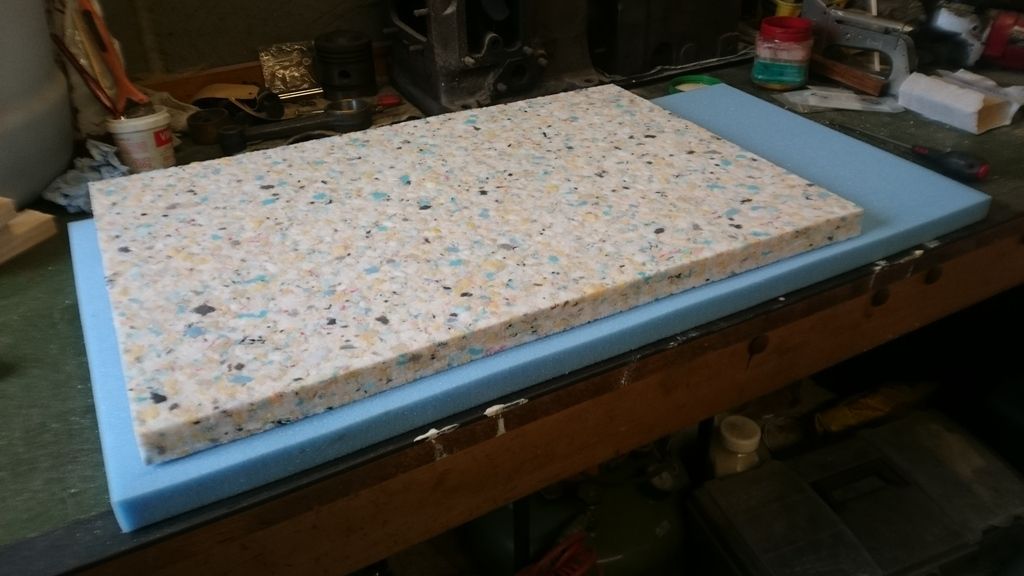
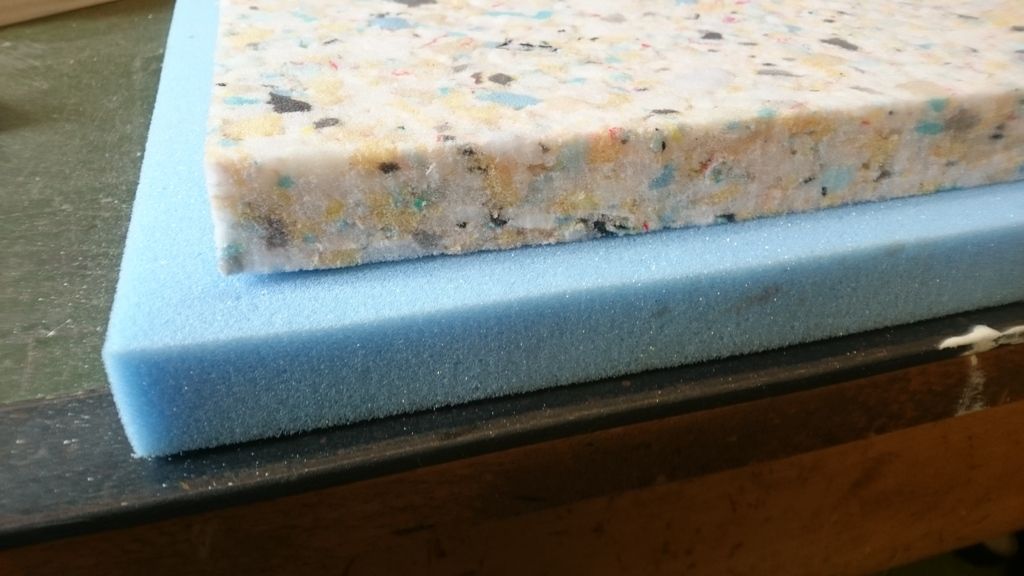
Here's the foam (the recon is on top):
And this is the adhesive I used:
The recon is firmer:
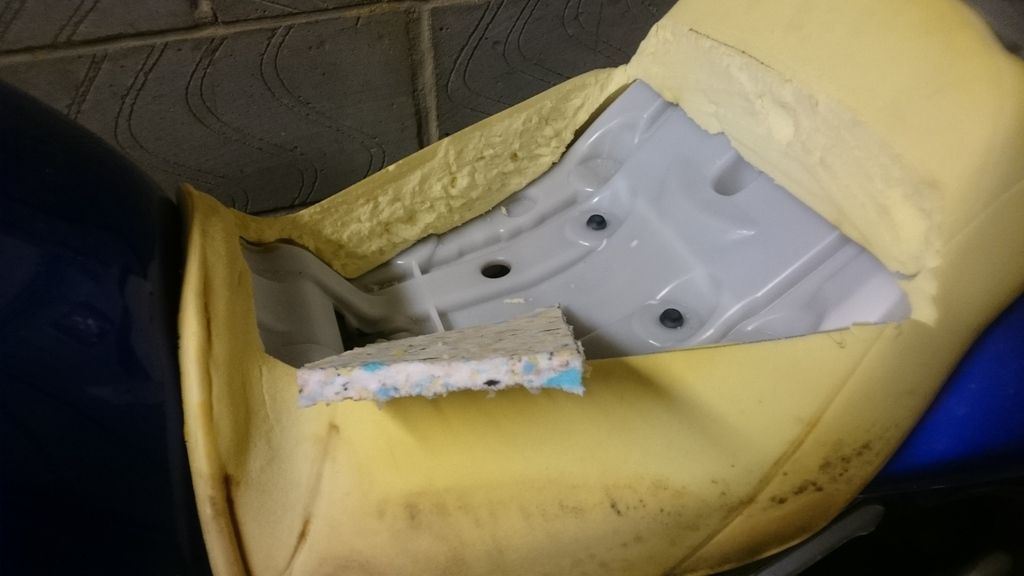
Before I could glue the new foam in I had to make space for it:
No turning back now!:
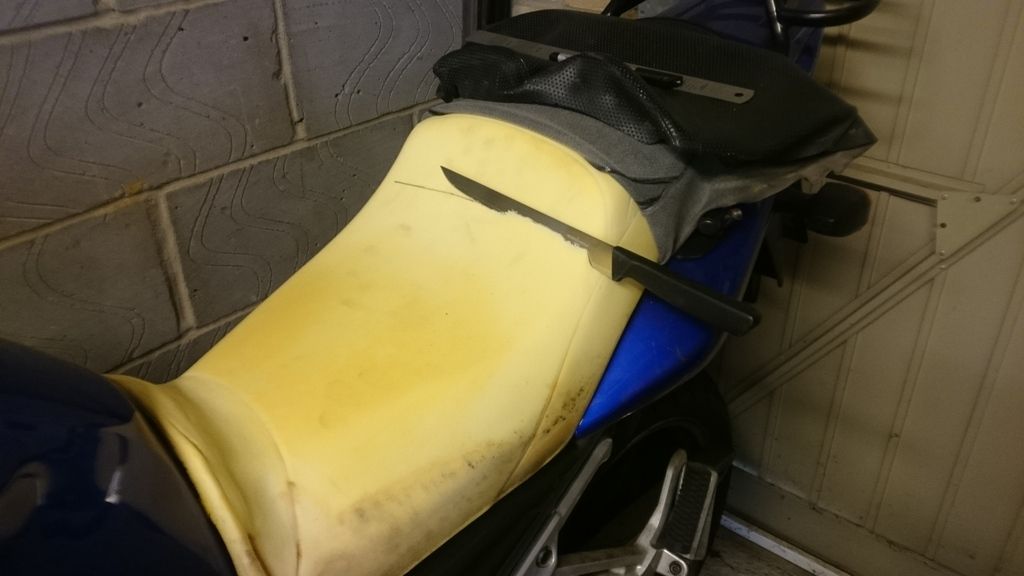
I'll write a bunch of hints and tips at the end but I decided early on that I was gonna use straight lines wherever possible as that was gonna make cutting the insert to fit properly much easier.
I marked out a chunk to remove and cut into it with the knife in the photo and a scalpel / craft knife. The thickest bits of foam were the hardest to cut right through so I turned the foam over to get at it from the other side:
Cutting this foam is like trying to carve uncooked meat - it's hard to get through and requires lots of small firm cuts - you get a bit deeper with every cut. Always mark up where you're gonna cut or you'll wander all over the place. Use straight lines if you can coz you've got to cut the insert to match and that's a nightmare if it's some complex shape.
So, after the chunk was removed I was left with this:
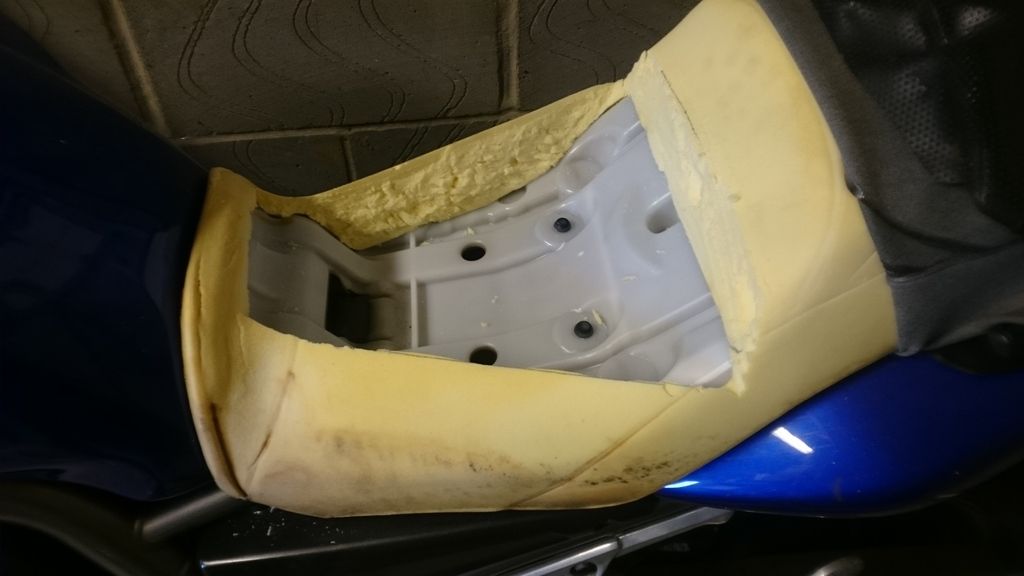
There's definitely no turning back now!!!
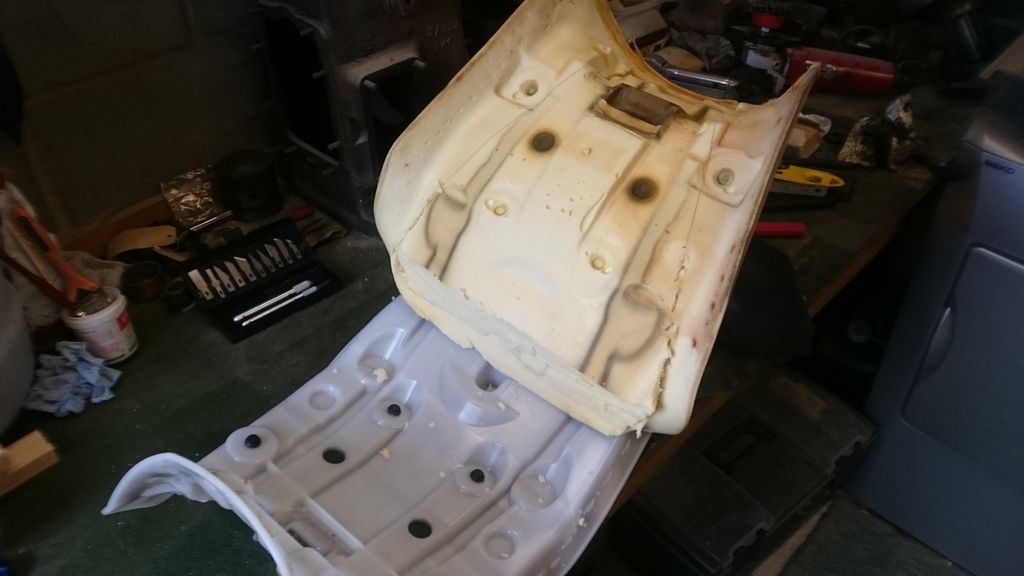
You can see how Yahama makes these sets - straight forward cheap injection molding. Fair enough, but why make it such an arse-breaking shape!!??
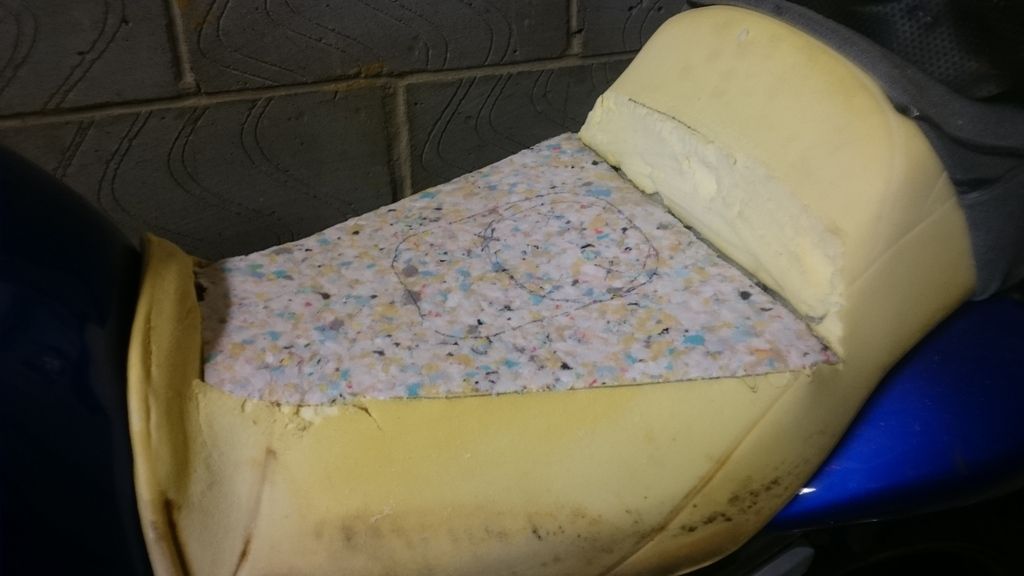
So anyway, I had to fill that great big hole! I had to shape the underneath of each layer to get it to fit to the irregular plastic base contours and to get the new pitch/cradle I wanted. Layer 1:
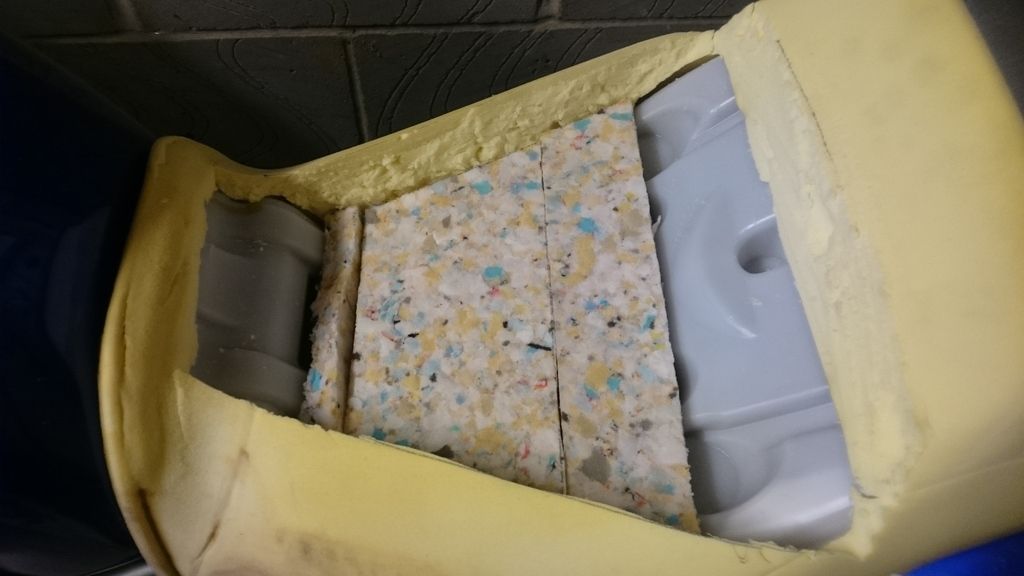
Layer 2:
Layer 3:
Hmm, slight problem - it's sitting a bit proud there! So I trimmed layer 1 down by the amount the top layer was sticking up by:
Then the layers sat much better:
Then it was really just case of glueing it all in place with the spray-on adhesive and bung on the cover. Job's a good 'un!
Tips:
I only had just enough recon - I'd get about half as much again to be sure of having plenty for the job.
The main tip is to get a really good plan in your head before you start cutting!!
Mark-up before cutting.
And measure twice, cut once!
You need really sharp blades to get through the foam and you're often working close to your fingers - be careful!
As mentioned above, use straight lines when you can - they're much easier to fit the new insert to.
The adhesive gets everywhere, is very sticky (!) and is really hard to get off stuff - prepare! I wish I'd worn gloves.
Bare in mind that if you want to re-use your existing your cover it will have to fit over your new shape.
I decided it was gonna be a bit tricky to fit the patches of soft foam - I was concerned that if I cut sections out to fit the soft foam in then the firm foam could split and the seat could all fall apart. Also, sitting on it, I felt it was plenty comfy enough without the extra bother. Maybe it would have been a slightly better result with some sections of soft foam in there but I'm real chuffed with the end result anyway.
Good luck!
